How to transfer crypto to a cold wallet is the same basic process no matter which wallet you buy or which exchange you use. The two rules that prevent most mistakes are (1) verify the receiving address using the wallet’s trusted confirmation flow, and (2) match the correct network before you send anything.
Universal steps to move crypto to cold storage:
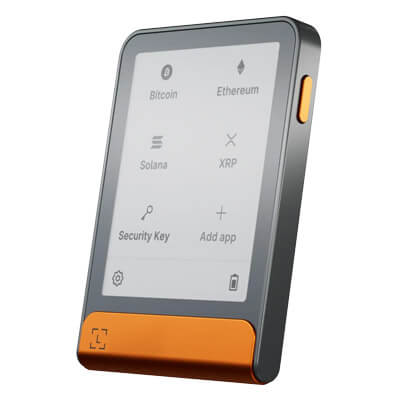
- Open your hardware wallet app and select the asset you’re receiving (BTC, ETH, XRP, USDT, etc.).
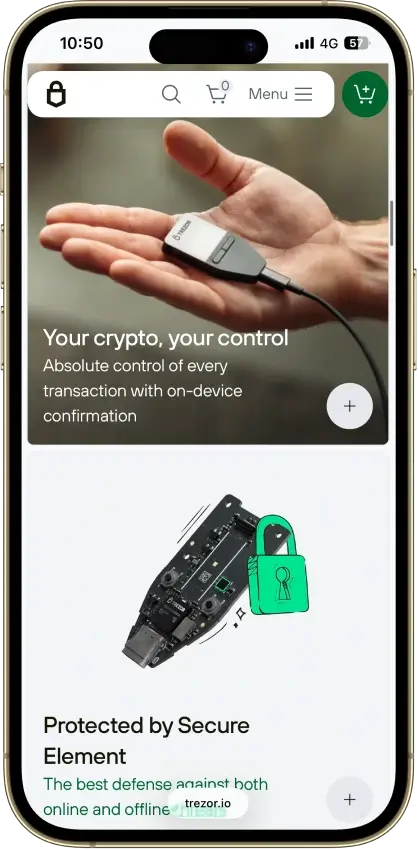
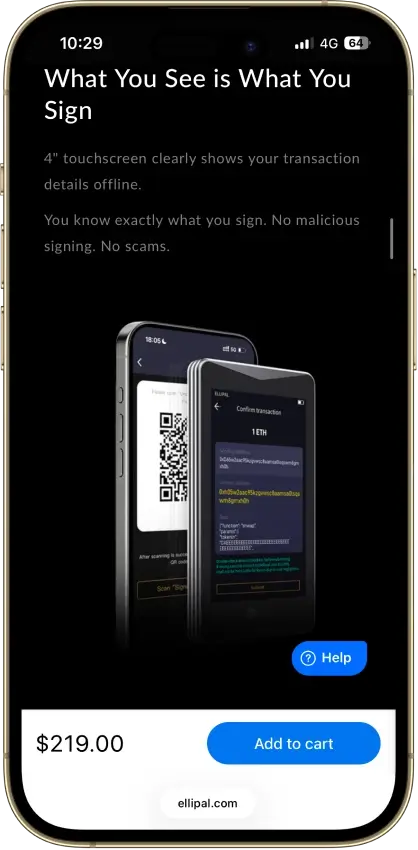
- Generate a receiving address and verify it using the wallet’s trusted flow. On screened wallets, confirm it on the hardware device. On screenless card wallets, confirm it in the official app.
- Double-check the network you’re receiving on (for example, USDT on Ethereum vs Tron vs another network). If the network doesn’t match, funds can be lost.
- Send a small test transfer first. Wait for confirmations and make sure it arrives in the correct account.
- Send the remaining amount once the test transfer is confirmed.
- Keep the transaction record (TxID) in case you need to troubleshoot confirmations or support requests.
If the destination requires a memo or destination tag, include it exactly as shown by the destination. If your hardware wallet shows multiple address formats, use the format the exchange supports.
For XRP, destination tags are often required when sending to exchanges, while personal XRP receive addresses in Trezor Suite do not require a destination tag.
How To Move Crypto From Coinbase To A Cold Wallet
- In your hardware wallet’s companion app, choose the asset you want to receive and tap Receive.
- Verify the address on your hardware wallet screen and copy it from the app.
- In Coinbase, select Send crypto or Withdraw, choose the same asset, and paste the address.
- Confirm the network matches what your wallet is expecting. Don’t assume defaults.
- Send a small test amount first and wait for confirmations.
- Once the test arrives, repeat the withdrawal for the remaining amount.
If you’re moving a large balance, consider using Coinbase’s address book or allowlisting features where available, and always re-verify the address on-device before sending.
Coinbase Allowlist Before Large Withdrawals
If you are moving a larger balance from Coinbase.com, consider turning on address allowlisting first. The current path is: Profile → Settings → Allow list → Enable Allowlisting → Add address. Newly added address becomes available for sends after 48 hours
How To Transfer Crypto From An Exchange To A Cold Wallet
The exchange-to-cold-wallet flow is the same everywhere:
- Get your receiving address from the hardware wallet app and verify it on the device.
- In the exchange, choose Withdraw for the same asset.
- Select the correct network (this matters most for tokens and stablecoins).
- Paste the address, enter the amount, and review fees.
- Send a test transfer and confirm it lands in your cold wallet.
- Send the remaining amount once the test is confirmed.
If the exchange asks for extra confirmation steps (email, 2FA, withdrawal holds), treat that as normal. The only thing you should never compromise on is address verification and network matching.