If you’re searching for the best crypto wallets for beginners in 2026, you’re probably in the same spot most people start: you bought (or plan to buy) crypto, and now you’re staring at a confusing choice — leave it on an exchange, or move it into a wallet.
Here’s the clean truth: a wallet isn’t where your coins “live.” Your crypto stays on the blockchain. Your wallet is the tool that controls the keys that can move it. That’s why wallet mistakes hurt so much. There’s usually no “undo,” and there’s no helpdesk that can reverse a transaction.
This guide is built for beginners who want the practical path: which wallets tend to work best for first-timers, how to set one up without cutting corners, how to avoid the scams that drain new users, and how to send/receive without making the “wrong network” mistake.
Best Crypto Wallets for Beginners in 2026
These are our beginner-focused picks for 2026, using a rubric that prioritizes real-world safety and usability (not hype).
Top Crypto Wallets for Beginners
- Custody
- Non-custodialPartially open-source
- Networks
- Platforms
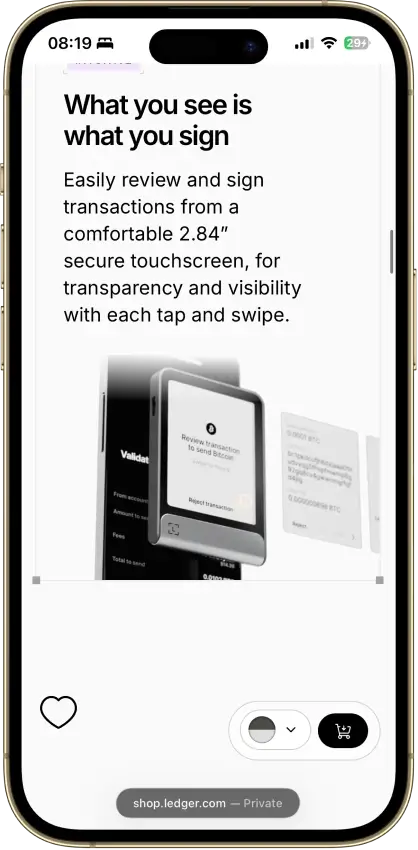
- 2.8-inch E Ink touchscreen for approvals
- Recovery Key card stores an encrypted backup
- Built by French device maker Ledger
- Custody
- Non-custodialPartially open-source
- Networks
- Platforms
- Curved 3.7-inch E Ink touchscreen
- Qi charging alongside USB-C
- Magnet Shell included in the box
- Custody
- Non-custodialFully open-source
- Networks
- Platforms
- Built by the team behind Kraken exchange
- Native Dogecoin support, not wrapped
- Token risk scoring and spam-NFT filter
- Custody
- Non-custodialPartially open-source
- Networks
- Platforms
- Tied for the cheapest hardware wallet we review
- Bitcoin-only firmware option
- FIDO2 authentication for compatible services
- Custody
- Non-custodialPartially open-source
- Networks
- Platforms
- Room for up to 100 apps on the device
- Recovery Check app tests your backup
- From Ledger, a wallet maker based in France
- Custody
- Non-custodialPartially open-source
- Networks
- Platforms
- Separate Cash account for Solana payments
- Pay Solana network fees in the token you send
- PSOL keeps staked SOL tradable in DeFi
- Custody
- Non-custodialPartially open-source
- Networks
- Platforms
- Snaps add third-party wallet capabilities
- Social login that still signs on your device
- Transaction Shield cover on marked transactions
- Custody
- Non-custodialClosed-source
- Networks
- Platforms
- Battery-free NFC card signing
- Separate cards managed in one app
- MoneyGram cash pickup via USDC on Stellar
- Custody
- Non-custodialPartially open-source
- Networks
- Platforms
- Smart-wallet recovery key can replace a passkey
- USDC sends on Base with sponsored gas
- Coinbase-funded USDC Rewards for holders
- Custody
- Non-custodialPartially open-source
- Networks
- Platforms
- SWIFT offers passkey-based wallet recovery
- Custom EVM network connections
- Premium loyalty tiers reward wallet activity
- Custody
- Non-custodialClosed-source
- Networks
- Platforms
- Seedless recovery through linked NFC cards
- 25-year limited hardware warranty
- Optional seed phrase on newer cards
CryptoSlate may earn a commission when you visit partner sites through links on this page, at no extra cost to you. Our rankings and reviews remain editorially independent and based on our published methodology. Read disclosure
Disclaimer: CryptoSlate may receive a commission when you click links on our site and make a purchase or complete an action with a third party. This does not influence our editorial independence, reviews, or ratings, and we always aim to provide accurate, transparent information to our readers.The fastest way to pick as a beginner: choose the wallet with the clearest recovery flow, the least confusing send/receive UX, and the strongest scam warnings—then follow the setup steps in this guide before you move meaningful funds.
Before looking at the details of each option, it helps to understand how these wallets compare side by side and what the key differences actually mean for a new user.
Scan this table to quickly see which wallet is easiest for beginners to recover, which ones provide stronger scam warnings, and which are simpler to use if you’re sending or receiving crypto for the first time.
Comparison Table
| Name | Custody | Blockchains | Hardware Support | Staking | Fiat On-ramp |
|---|---|---|---|---|---|
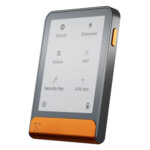 Ledger Flex Ledger Flex | Non-custodial | No | Limited | Yes | |
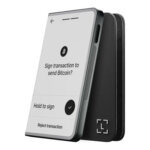 Ledger Stax Ledger Stax | Non-custodial | No | Limited | Yes | |
 Kraken Wallet Kraken Wallet | Non-custodial | No | Limited | No | |
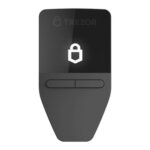 Trezor Safe 3 Trezor Safe 3 | Non-custodial | No | Limited | Yes | |
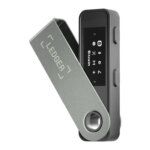 Ledger Nano S Plus Ledger Nano S Plus | Non-custodial | No | Limited | Yes | |
 Phantom Phantom | Non-custodial | Yes | Limited | Yes | |
 MetaMask MetaMask | Non-custodial | Yes | Full | Yes | |
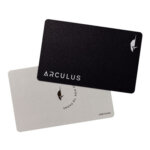 Arculus Wallet Arculus Wallet | Non-custodial | No | Limited | Yes | |
 Coinbase Wallet Coinbase Wallet | Non-custodial | Yes | Limited | Yes | |
 Trust Wallet Trust Wallet | Non-custodial | Yes | Full | Yes | |
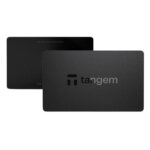 Tangem Tangem | Non-custodial | No | Limited | Yes |
How to use this table in real life: pick based on what you’ll do first. If you’re mostly moving funds off an exchange and using Ethereum/L2s, Base App Wallet or MetaMask are the straightforward starts; if you’re specifically trying Solana, Phantom is the least friction; if you want one app that covers lots of networks, Trust Wallet is the “wide coverage” pick; if you already use Kraken and want a tighter set of major chains, Kraken Wallet keeps your choices narrower. Whatever you pick, keep a small “gas buffer” of the native token for the chain you’re using (ETH on EVM, SOL on Solana, BTC on Bitcoin), and keep your main savings in a separate vault wallet that never connects to random links.
*Fiat buy availability varies by region/provider.
Crypto Wallets for Beginners Reviews
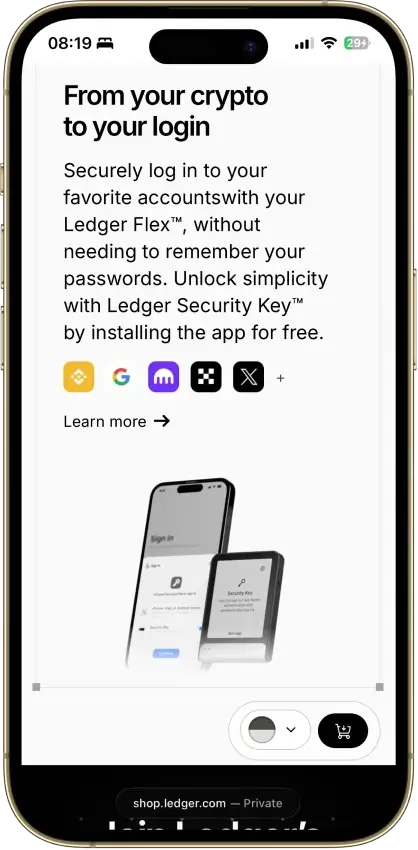
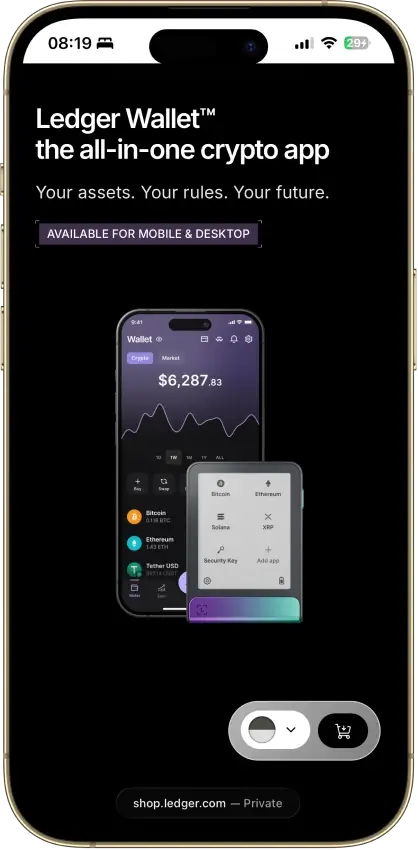
Ledger Flex
- Custody
- Non-custodialPartially open-source
- Networks
- Platforms
Pros
- Secure Element certified to CC EAL6+
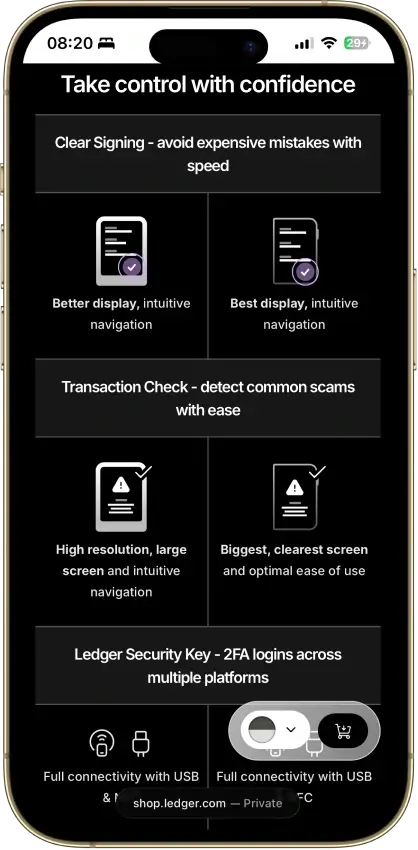
- Clear Signing on supported apps
- Doubles as a security key for logins
- Transaction Check shows a risk verdict on screen
- 500+ coins supported in Ledger Wallet
Cons
- Low-level firmware is partly closed source
- Recovery Key card skips any passphrase
- Some swap routes hold funds with a provider
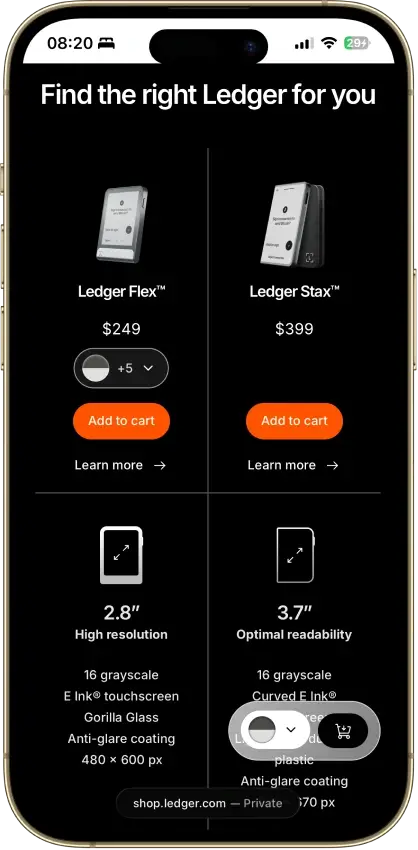
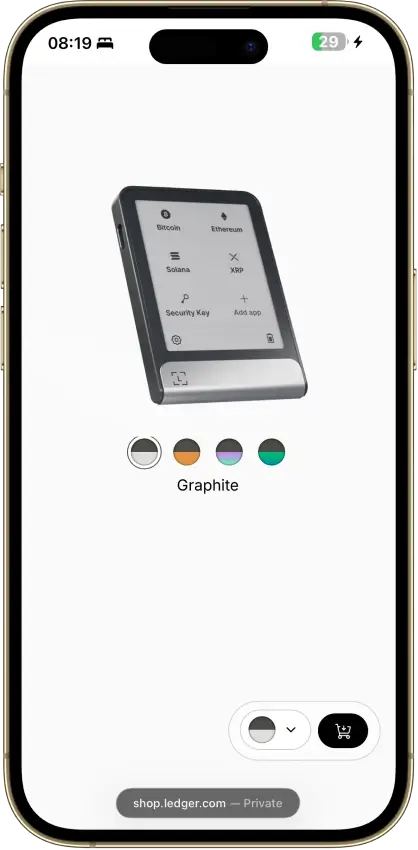
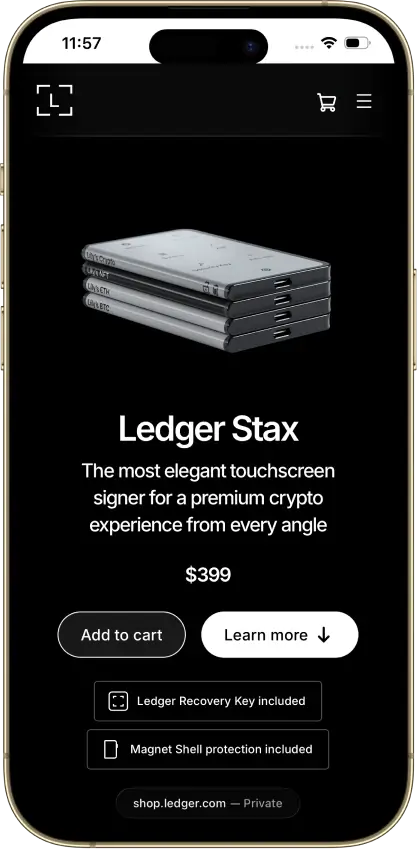
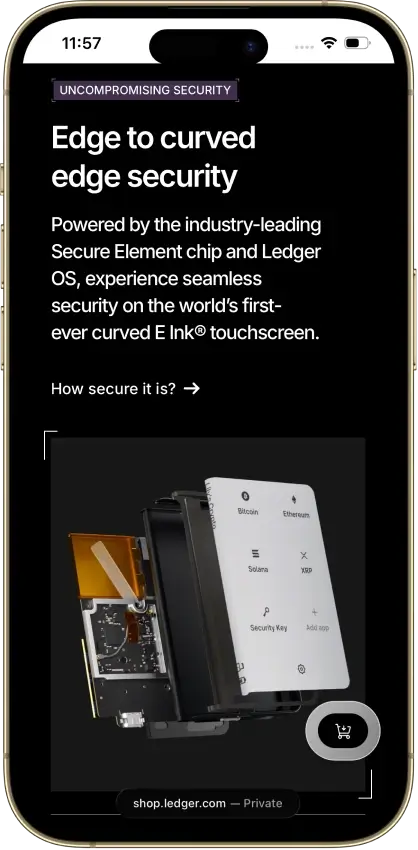
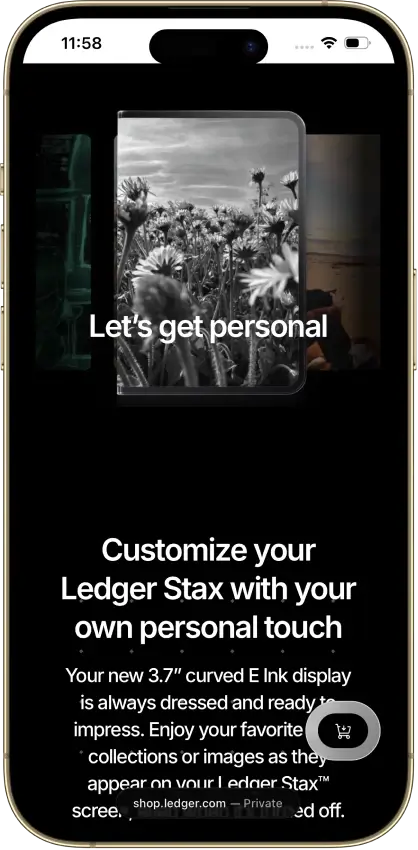
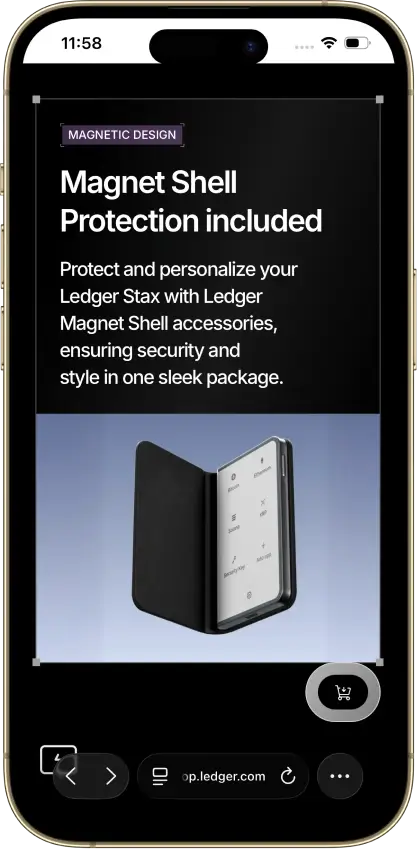
Ledger Stax
- Custody
- Non-custodialPartially open-source
- Networks
- Platforms
Pros
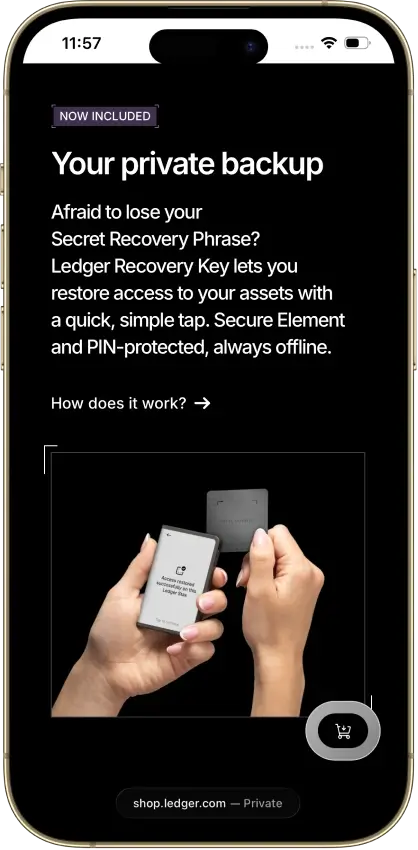
- PIN-protected offline backup card included
- EAL6+ certified Secure Element chip
- Bluetooth 5.2 for iPhone and Android
- Separate passphrase accounts supported
- Mobile and desktop companion apps
Cons
- Low-level firmware remains partly closed
- Coin-app updates need separate attention
- Recovery Key excludes extra passphrases
- Buyer data exposed in 2020 and again in 2026
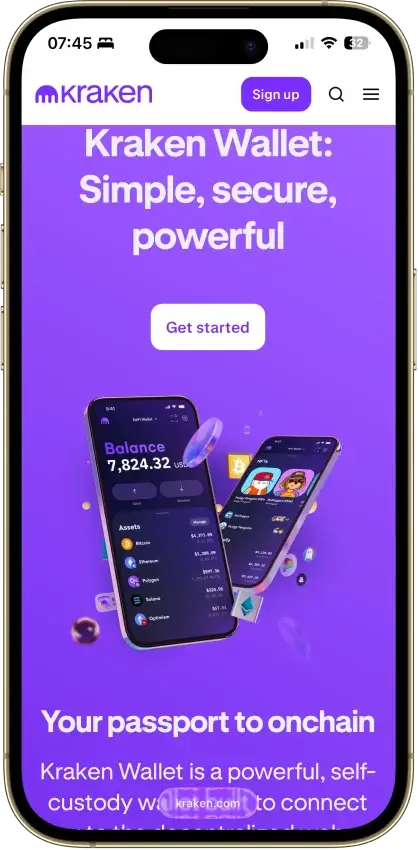
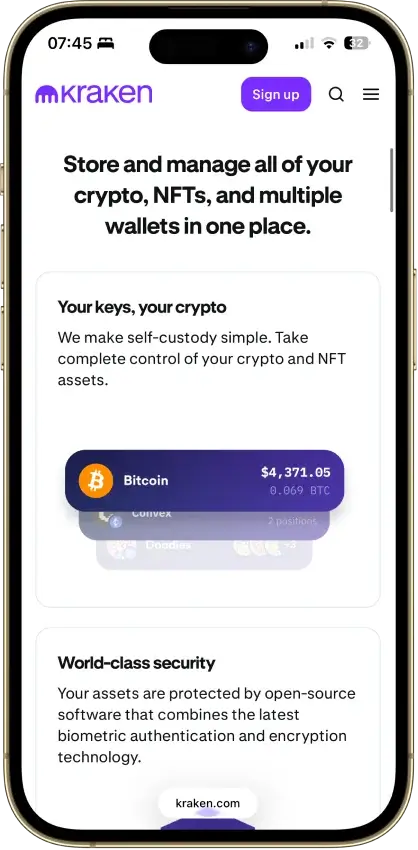
Kraken Wallet
- Custody
- Non-custodialFully open-source
- Networks
- Platforms
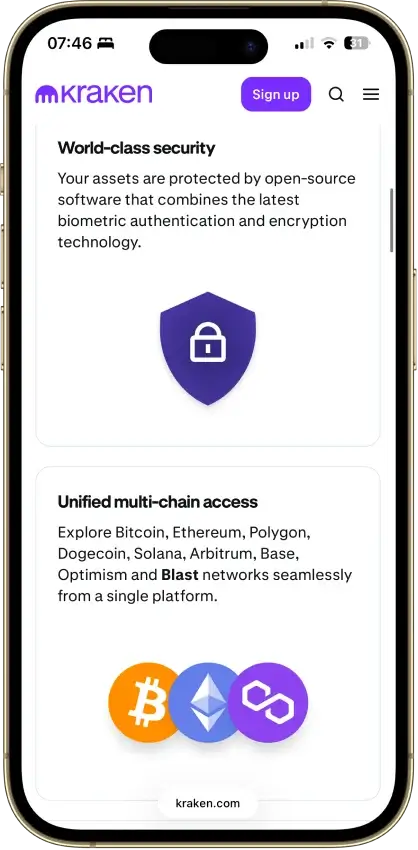
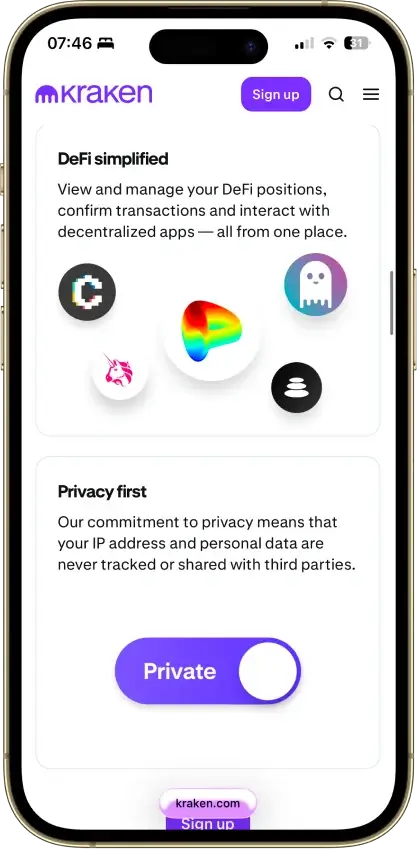
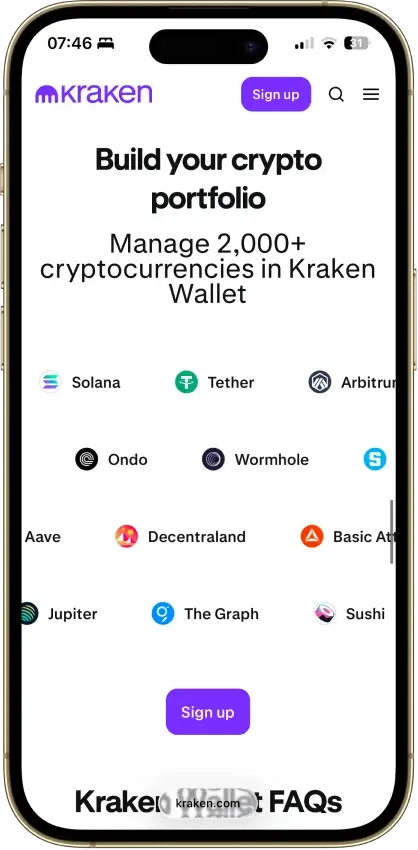
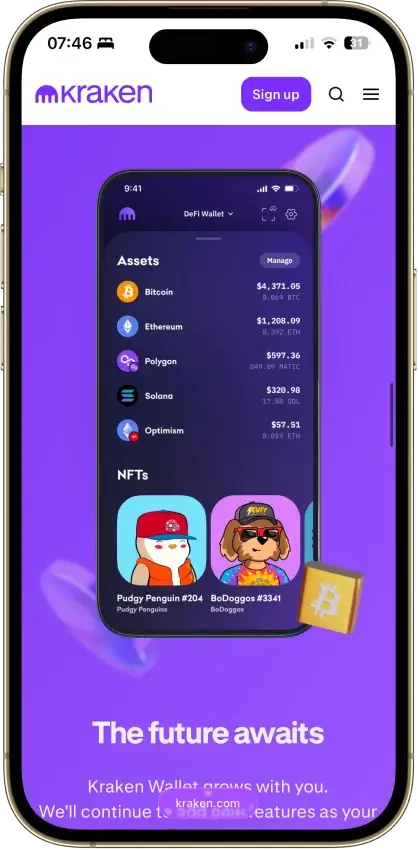
Pros
- Mobile code released under MIT in 2024
- Trail of Bits audited the mobile wallet
- Works without a Kraken exchange account
- Kraken Connect links your exchange account
- Available to US users
Cons
- No hardware pairing for mobile seed wallets
- No browser extension
- Swap routes and fees vary
- Exchange transfers need an eligible account
- No passphrase option
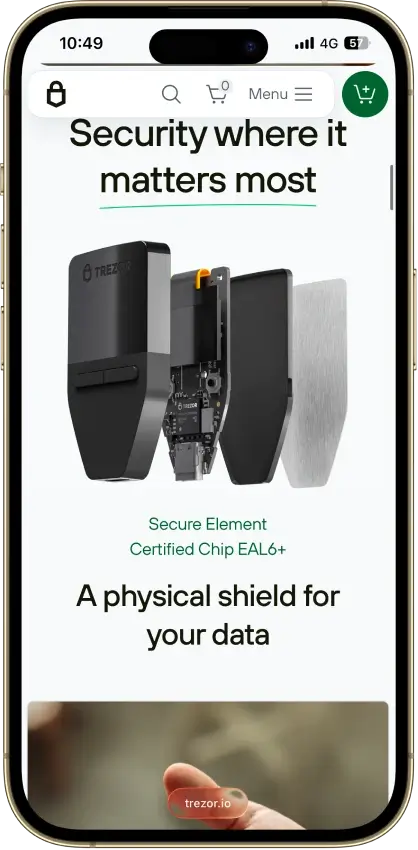
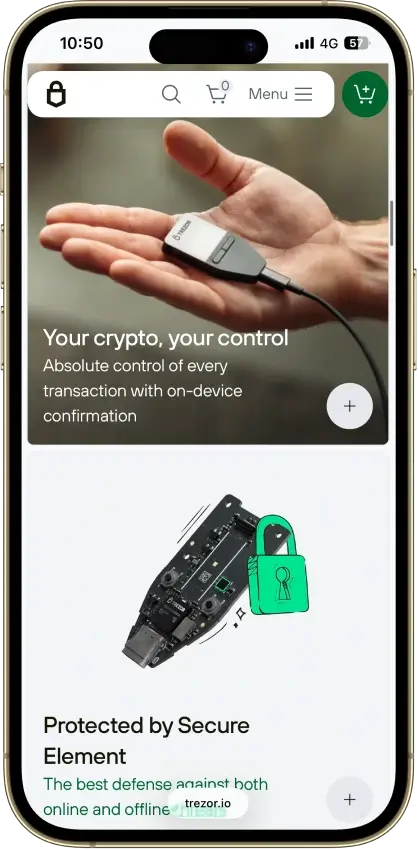
Trezor Safe 3
- Custody
- Non-custodialPartially open-source
- Networks
- Platforms
Pros
- USB power needs no battery maintenance
- Secure element guards the PIN
- Recovery words entered on the device
- SLIP39 supports distributed backup shares
- Core firmware can be inspected and rebuilt
Cons
- Cannot sign with an iPhone
- Small screen and repeated button navigation
- 2025 research bypassed its authenticity checks
- Secure element software is closed-source
- Shipping-data exposure raises phishing risk
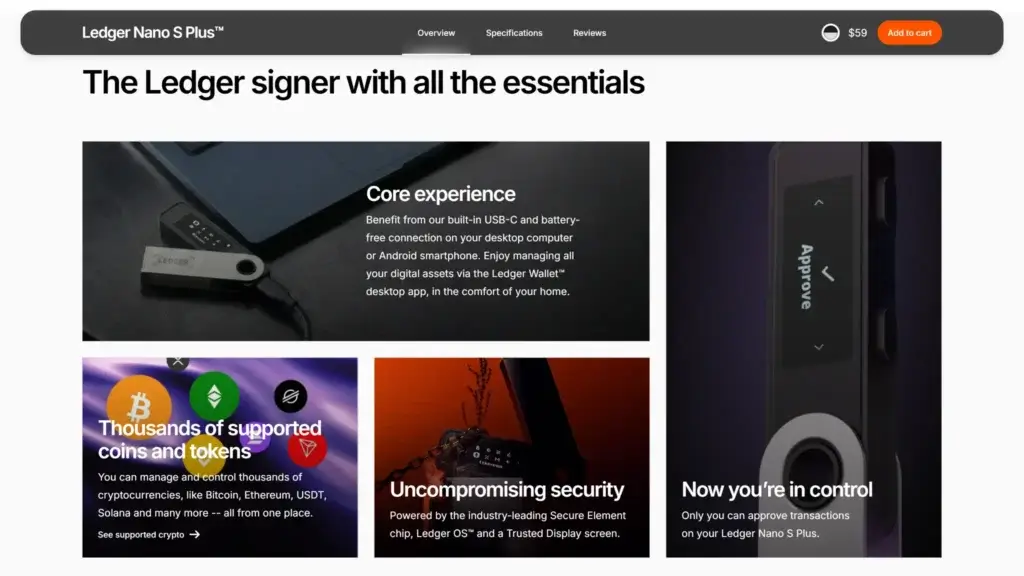
Ledger Nano S Plus
- Custody
- Non-custodialPartially open-source
- Networks
- Platforms
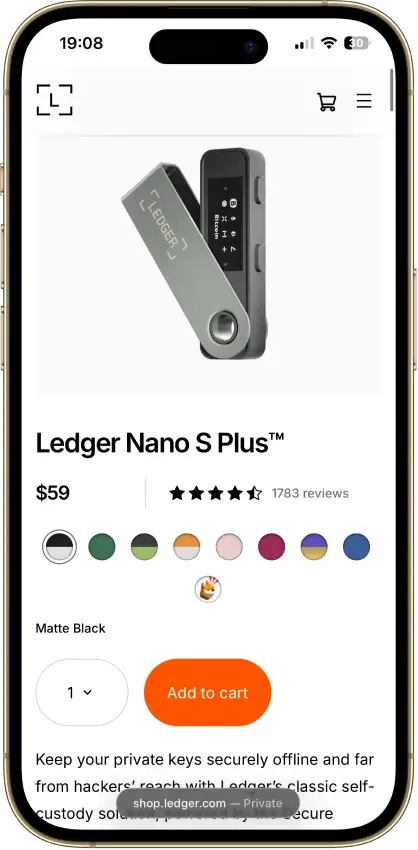
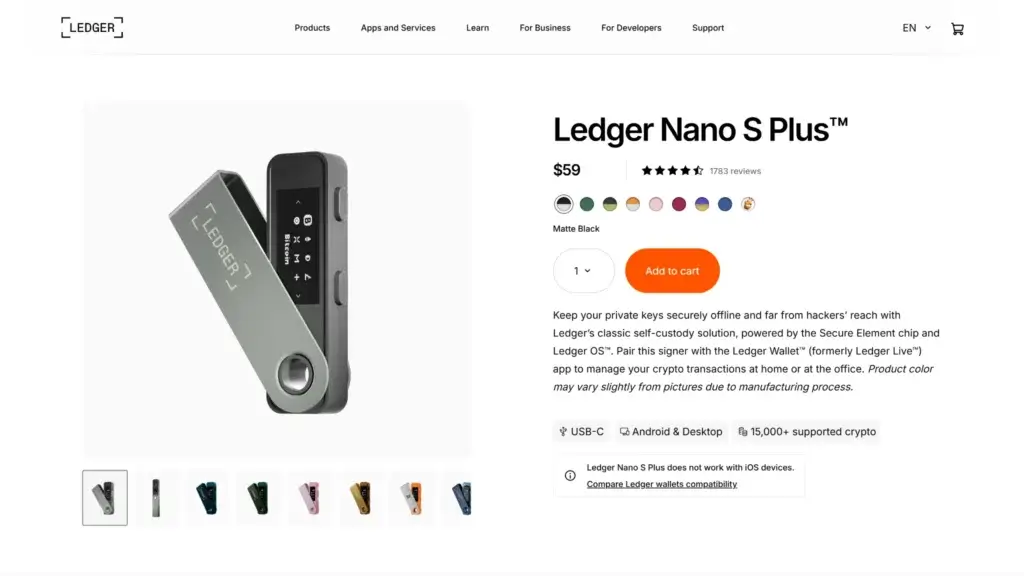
Pros
- CC EAL6+ certified Secure Element
- Battery-free operation
- Public companion and app code
- Bitcoin, Ethereum, Solana and XRP built in
- Ledger's $59 entry price
Cons
- No iPhone signing support
- Small screen and button navigation
- Closed low-level device firmware
- Blockchain apps need separate updates
Phantom
- Custody
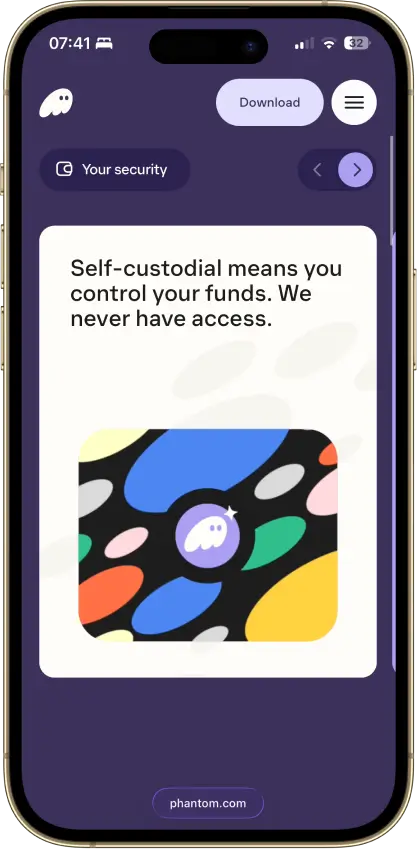
- Non-custodialPartially open-source
- Networks
- Platforms
Pros
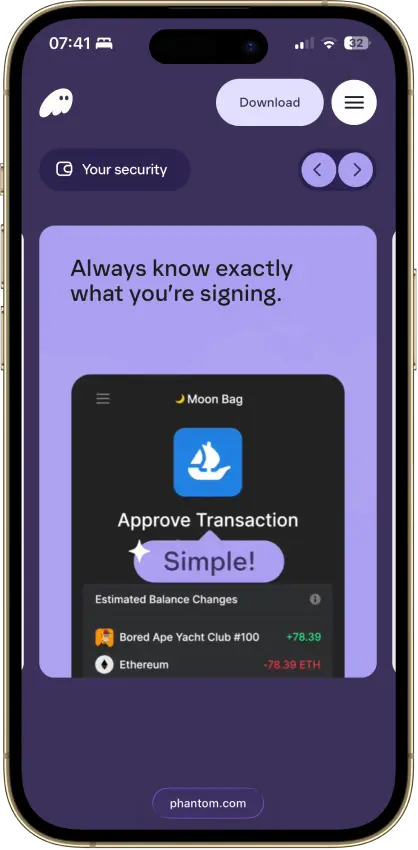
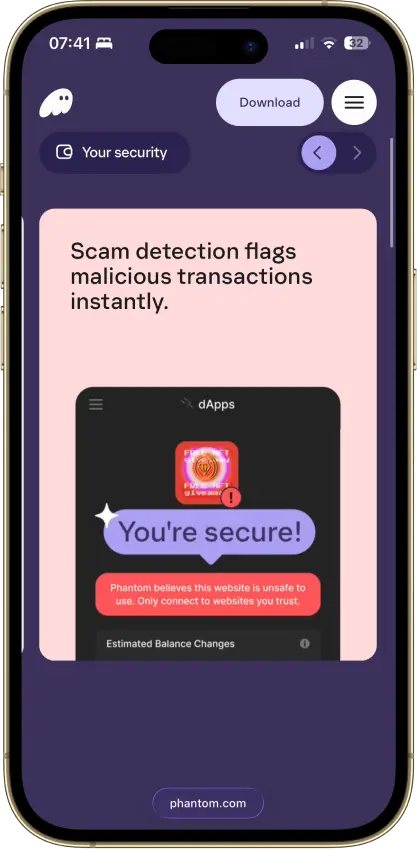
- Transaction previews and scam warnings
- Ledger Bluetooth support on mobile
- Bitcoin Native SegWit and Taproot support
- Third-party audit reports open to read
- Google or Apple login with a portable backup
Cons
- Core app is proprietary
- Dropped Sui and Monad support in 2026
- New native stakes need the extension
- Google and Apple wallets sign on a remote server
- No native Arbitrum, Optimism or Avalanche
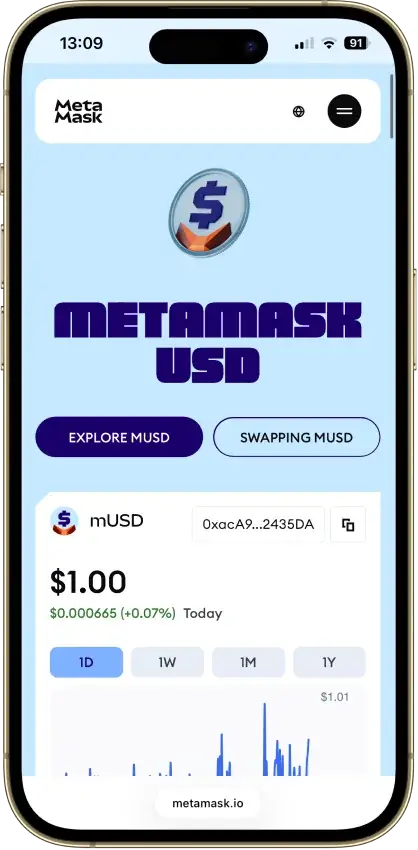
MetaMask
- Custody
- Non-custodialPartially open-source
- Networks
- Platforms
Pros
- Default-on transaction security alerts
- Mobile connections to compatible hardware
- ETH pooled staking without a product minimum
- Custom EVM networks alongside native Bitcoin
- Publicly accessible extension source code
Cons
- Swaps carry a 0.875% service fee
- Linked Ledger accounts are EVM-only
- Social login can't be changed or unlinked
- Passkeys unlock but can't restore the wallet
Arculus Wallet
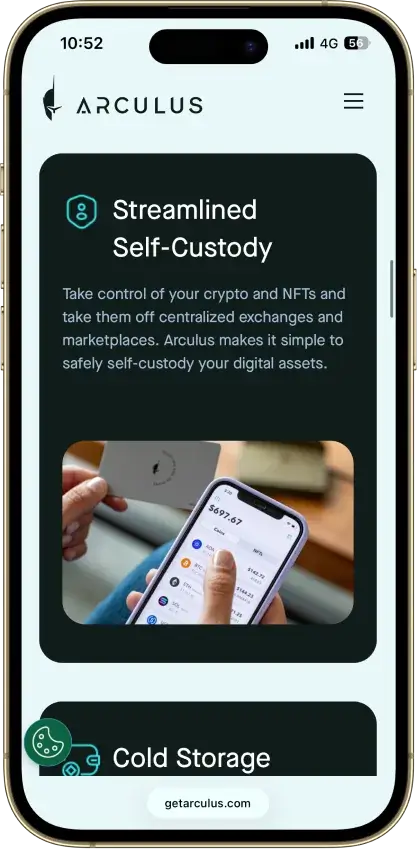
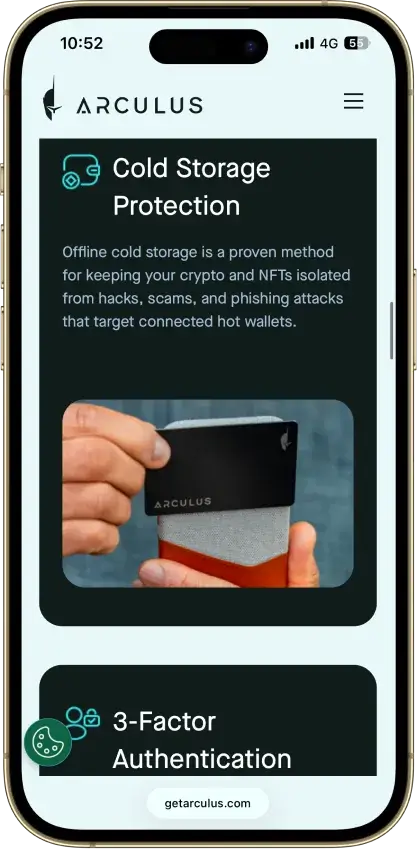
- Custody
- Non-custodialClosed-source
- Networks
- Platforms
Pros
- MetaMask link through a webcam QR code
- Native ADA and SOL staking
- Safe integration through WalletConnect
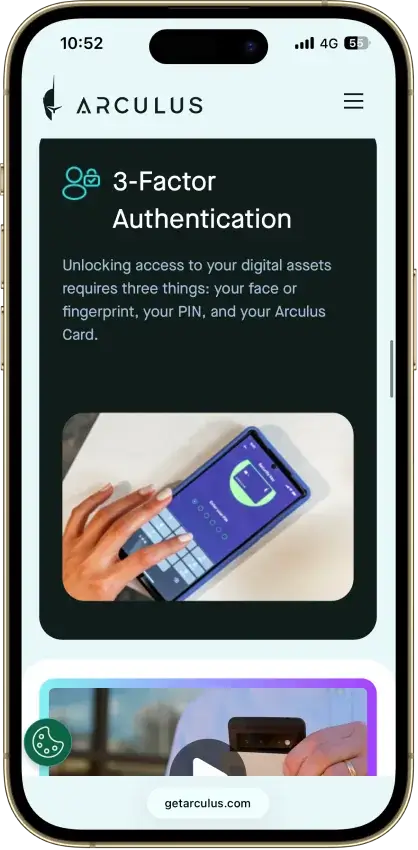
- Optional biometrics on top of a six-digit PIN
- Two-year limited card warranty
Cons
- No independent transaction screen
- Recovery words appear on the phone
- Proprietary wallet software license
- No public audit findings
- Three wrong PINs force a full restore
Coinbase Wallet
- Custody
- Non-custodialPartially open-source
- Networks
- Platforms
Pros
- Ledger approvals through the extension
- Audited, MIT-licensed smart-wallet contracts
- ETH staking below 32 ETH via Kiln
- Gasless swaps on Ethereum and Polygon
- Security Lock on opening and approvals
Cons
- Passkey smart wallets exclude BTC and SOL
- Dropped Dogecoin, Litecoin, XRP and custom chains
- Swap fee of up to 1% per trade
- No Bitcoin swaps in the app
Trust Wallet
- Custody
- Non-custodialPartially open-source
- Networks
- Platforms
Pros
- Transaction previews on supported networks
- Optional encrypted cloud backup
- Ledger signing through the extension
- Staking for ETH, SOL, BNB and TRX
- No email account needed for a classic wallet
Cons
- December 2025 extension hack hit about $8.5M
- 2024 mobile build review found incomplete source
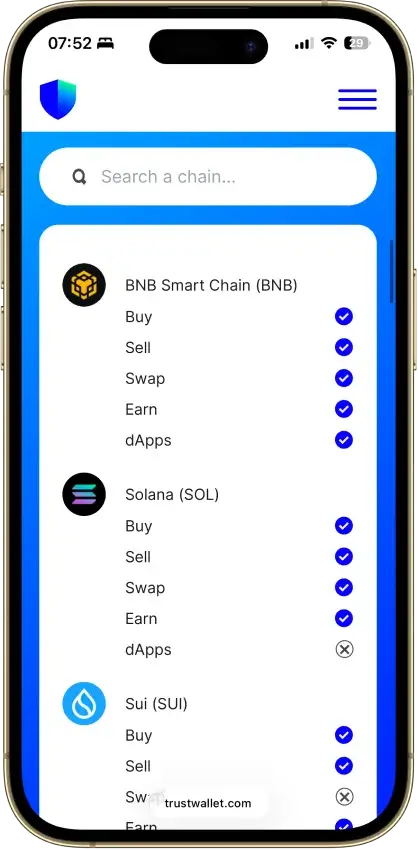
- Dropped several networks in September 2026
- SWIFT covers only a handful of EVM chains
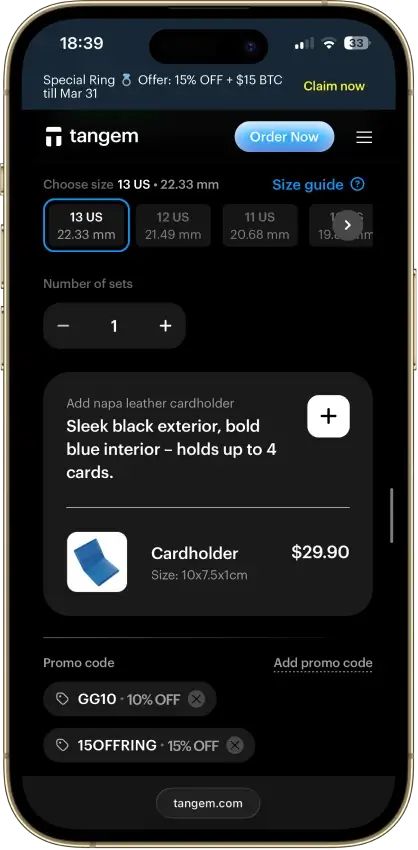
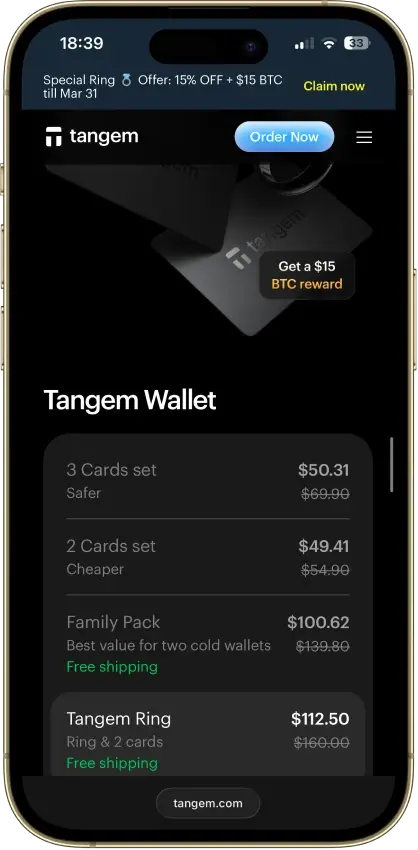
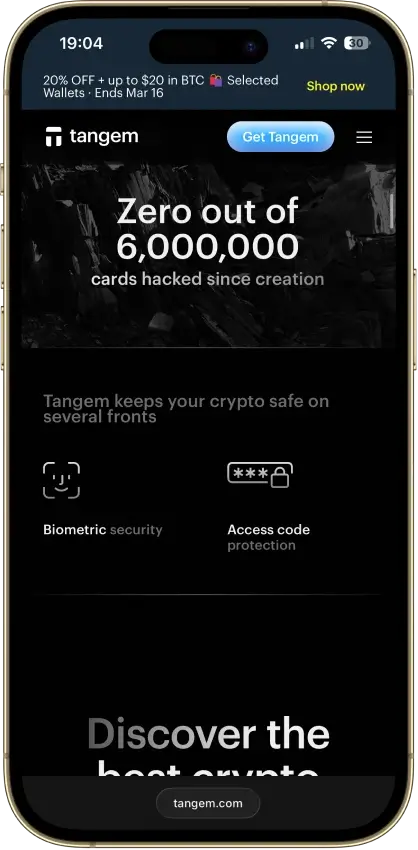
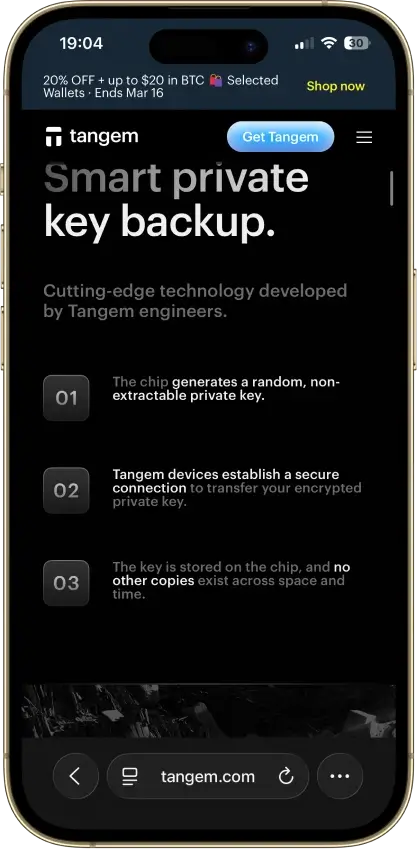
Tangem
- Custody
- Non-custodialClosed-source
- Networks
- Platforms
Pros
- Native BTC, ETH, SOL and XRP support
- No battery, the phone powers signing
- App source code is publicly inspectable
- Independent SDK audit with a public summary
- WalletConnect on Solana and listed EVM chains
Cons
- No on-card transaction display
- Card firmware cannot be updated
- Proprietary app licenses limit reuse
- Some Solana NFTs can't be sent from it
After you skim the cards, don’t overthink it. Pick one wallet that matches your first chain (Ethereum/L2s vs Solana vs “a bit of everything”), then follow the setup and safety steps below before you deposit meaningful funds.
How We Rank
- Custody and key security 30% weightWhat we assess
Who can authorize spending, protection of keys and signing, and independent access to every reviewed account type.
What earns 10/10 Users control spending and have complete independent access for every reviewed account type. Signing and authorization are isolated from the connected app, with key and recovery dependencies explained. - Security validation and track record 25% weightWhat we assess
Independent security assessments, their coverage and findings, plus updates and the handling of known incidents.
What earns 10/10 Independent assessments cover the current design and material changes. Material findings are resolved, and sustained maintenance records show no unresolved material incident consequences. - Transaction safety and signing 20% weightWhat we assess
Transaction details, signing warnings, scam checks, permission controls and the handling of unreadable requests.
What earns 10/10 Transfers and supported signing requests show readable details before consent. Risk warnings and integrated permission revocation cover relevant tasks, with unclear requests identified and easy to reject. - Backup and recovery 10% weightWhat we assess
Repeatable backup checks, complete restoration, recovery dependencies, costs and resilience after backup loss.
What earns 10/10 Repeatable checks verify complete backups without resetting the wallet. Recovery survives loss of a backup or dependency, with clear costs and no third party able to spend alone. - Usability, privacy and costs 10% weightWhat we assess
Setup and everyday tasks, accessibility, support guides, data-sharing choices and device, service and transaction costs.
What earns 10/10 Clear workflows, accessible controls and useful support guides make routine tasks straightforward. Nonessential data sharing is optional, and mandatory costs are transparent and reasonable. - Assets, networks and compatibility 5% weightWhat we assess
Asset and network support, devices, companion apps and connections needed for the uses covered in the review.
What earns 10/10 Official compatibility lists and setup guides cover the reviewed assets, networks, devices and connections. Required transfer routes are documented and available, with no known blocker.
We score wallets using a 10-metric rubric built for real-world beginner outcomes: control of keys, recovery quality, scam resistance, signing clarity, and whether the wallet is usable for getting money in and out.
This rubric doesn’t reward marketing claims. It rewards what a beginner can verify and safely use.
Beginner Quick-start: Pick the Right Wallet Setup in 5 minutes
Most beginners don’t need the “perfect wallet.” They need a setup that makes it hard to do irreversible damage in one click.
Start by answering one question: what will you do with crypto in the next 30 days?
The 30-day Decision Rule
If your plan is “buy and hold,” your wallet needs strong recovery and minimal complexity. If your plan includes swapping tokens and connecting to apps, your wallet needs stronger warning systems and you need to separate your savings from your browsing.
| Your next 30 days | Best starting setup | What you keep in the daily wallet | What you keep in the vault |
|---|---|---|---|
| Hold + maybe one send | Two wallets | Small test balance + transfer funds | Majority of funds, rarely touched |
| Occasional swaps | Two wallets | Spending balance + gas buffer | Majority of funds, no random links |
| Trying DeFi/apps | Three wallets | Daily spend | Vault + separate burner for new sites |
Use the vault idea even if you never buy a hardware wallet: a “vault wallet” can be a separate wallet you don’t connect to anything.
What Does “Gas” Mean (and Why It Blocks Beginners)
On most chains, you can’t pay fees using the token you’re sending. You pay fees with the chain’s native token. That’s why beginners end up with “USDC stuck” even though it shows a balance.
Example: if you hold USDC on an Ethereum L2, you still need a little ETH on that same network to move it. If you’re on Solana, you need a little SOL. Build the habit now: every wallet you use should keep a small gas buffer.
What Is a Crypto Wallet?
A crypto wallet is a tool that stores and uses your keys to sign transactions. Your coins don’t “sit in the app.” They live on the blockchain. The wallet is the keyring.
Here’s the beginner version of what a wallet does:
- Generates addresses you can receive funds on
- Signs transactions so the network accepts them
- Shows your balances by reading the blockchain
And what it does not do:
- Guarantee safety (you can still approve a malicious transaction)
- Reverse mistakes (blockchains don’t have chargebacks)
- Recover funds without your backup (self-custody has no password reset)
If someone gets your recovery phrase (seed phrase), they can recreate your wallet elsewhere and drain it. That’s why recovery and scam resistance matter more than flashy features.
Types of Crypto Wallets Explained (Hot, Cold, Custodial, Seedless)
Beginner confusion usually comes from mixing up “where you buy crypto” with “where you store/control it.” These are different jobs.
Hot Wallets (Mobile/Extension)
Hot wallets live on a device connected to the internet. They’re fast. They’re convenient. They’re also the most exposed to phishing links and bad approvals.
Best use: learning, small balances, daily spending, connecting to apps.
Cold Wallets (Hardware Wallets)
Cold wallets sign transactions on a separate device so your keys don’t sit on the same phone/browser you use every day.
Best use: long-term storage and larger balances.
Custodial vs Non-custodial
Custodial means a company controls keys (common on exchanges). Non-custodial means you control keys (self-custody wallets).
| Type | Who controls keys | Recovery looks like | Beginner upside | Beginner downside |
|---|---|---|---|---|
| Custodial (exchange account) | Company | Password reset + support | Easy to start | Withdrawals can be limited/frozen |
| Non-custodial (self-custody) | You | Seed phrase/MPC recovery | Full control | You are the recovery plan |
A practical beginner path is often: buy/sell on an exchange, store in a self-custody wallet when you’re ready.
Seedless / MPC Wallets
Some wallets reduce seed-phrase risk by using MPC-style recovery (split key shares across device/account). This can reduce “I lost my seed” disasters.
The trade-off: you must understand what recovery depends on (device access, account access, provider rules). “Seedless” is not magic. It just shifts the failure points.
Smart Wallets and Account Abstraction
Account abstraction can make wallets feel more like normal apps (batching actions, sponsored gas, smoother recovery). For beginners, treat it as a bonus feature. The basics — recovery and safe signing — still matter most.
How To Set Up a Crypto Wallet Safely
Most beginner losses happen before the first transaction: fake apps, rushed backups, and weak device security.
- Download the wallet only from its official site or the official app store listing.
- Create a new wallet (don’t import a seed you found online).
- Write the recovery phrase offline (paper or metal).
- Add a strong device lock (PIN/biometric).
- Turn on extra protections inside the wallet (where available).
- Do a restore test with a small balance.
- Deposit a small test amount first.
If you only do one thing today, do step 3 correctly. Everything else is optional compared to having a real backup.
Backup, Recovery and Seed Phrase Storage
Your recovery method is your real security. A wallet can look “secure,” but if your recovery is sloppy, it won’t matter.
Seed Phrase Storage Options
| Storage option | Good for | What can go wrong |
|---|---|---|
| Paper backup | Small balances, short term | Fire/water damage, easy to misplace |
| Metal backup | Larger balances, long term | Costs money, still needs safe storage |
| Two copies in two locations | People who move/travel | You create more chances to leak it |
| Passphrase on top of seed | High-risk environments | Forget it once and you can lock yourself out |
If you add a passphrase, you must practice recovery. Otherwise you’re adding risk, not reducing it.
Restore Test (The Calm Version)
A restore test is the single best “confidence check” a beginner can do.
- Use a spare device (or a fresh browser profile).
- Install the wallet again from the official source.
- Tap “Restore” (or “Import”) and enter your recovery phrase slowly.
- Compare your main receive address with your original wallet.
- Send a tiny test transaction and confirm it arrives.
Do this once, early, with a small balance. You don’t want your first recovery attempt to happen during a panic.
Wallet Addresses, Networks and How to Verify a Transaction
If beginners lose funds, it’s often because they sent the right asset on the wrong network.
Address vs Network (The Mistake That Hurts)
A wallet address is not enough. You also need the network to match on both sides.
The examples below use common “starter” assets because they show the pattern clearly. The same rule applies to any token you might use later (memecoins, NFTs, gaming tokens, whatever): first identify the chain it’s on, then make sure the sender and receiver are using that exact same chain.
| Example you’re sending | The network must match | You’ll pay fees in | Beginner pitfall |
|---|---|---|---|
| BTC (on-chain) | Bitcoin mainnet | BTC | Picking Lightning when the receiver needs on-chain (or vice versa) |
| Any token on Ethereum/L2s (ETH, USDC, memecoins, etc.) | Ethereum or the exact same L2 (Base/Arbitrum/Optimism, etc.) | ETH (on that chain) | Having tokens but not enough ETH on that network to move them |
| Any token on Solana (SOL, USDC, SPL tokens, etc.) | Solana | SOL | Signing a permission prompt you didn’t understand |
| Stablecoins specifically (USDT/USDC) | The exact chain it was sent on (e.g., ERC-20 vs Solana vs an L2) | The chain’s native gas token | “Same stablecoin, wrong rail” because USDT/USDC exist on multiple chains |
How To Verify With A Block Explorer
When your wallet UI feels wrong, the blockchain is the source of truth. That means you can check what happened even if a wallet or exchange screen is lagging.
First, two beginner terms:
- TXID (transaction ID) / transaction hash: the “receipt number” for a transfer on a specific blockchain.
- Block explorer: a public search page that lets you look up transactions, addresses, and confirmations on one specific chain.
Important: explorers are chain-specific. If you try to look up an Ethereum transaction on Solscan (a Solana explorer), it won’t work because Solscan can only see Solana.
To get this right, you can google the name of the network in question + the term “explorer.”
Let's move to the verification part!
Here’s the safe way to verify a transfer:
- Identify the network you used.
- Examples: Bitcoin, Ethereum, Base, Arbitrum, Optimism, Solana.
- Find the TXID.
- In a wallet: open the transaction in your “Activity” list → look for “Transaction ID / Hash / TXID.”
- On an exchange: open Withdrawals/History → open the withdrawal details → look for “TXID / Hash.”
- Open the correct block explorer for that network.
- Bitcoin explorer for BTC transfers.
- Etherscan-style explorer for Ethereum and most EVM chains (Base has its own, Arbitrum has its own, etc.).
- Solscan-style explorer for Solana.
- Paste the TXID into the explorer search bar.
- Confirm these fields:
- Network/chain: does it match what you intended?
- Status: Success/Confirmed vs Pending vs Failed.
- “To” address: does it match the address you copied from Receive?
- Asset + amount: is it the right token and the right number?
- Confirmations: more confirmations = more “final.”
How to interpret what you see:
- Pending/unconfirmed: the transfer is still waiting. On Bitcoin this can be normal during congestion. On EVM chains it can mean fees were low.
- Confirmed/success: the funds moved on-chain. If the receiving app doesn’t show it, you’re usually looking at the wrong network inside the app, the token isn’t added yet, or the wallet UI is behind.
- Failed: the transfer did not complete. You may still pay a fee, but the main amount usually does not arrive.
Common beginner issues (and what to do):
- “TXID not found” on the explorer
- Most common causes: (1) you used the wrong explorer (wrong chain), or (2) the exchange hasn’t broadcast the transaction yet.
- Fix: double-check the network, then try again on the right explorer. If the exchange shows “processing,” wait until it posts a TXID.
- “It’s confirmed on the explorer, but my wallet shows nothing”
- Fix: switch the wallet to the correct network/chain view. Then refresh. If it’s a token, add/import the token if your wallet requires it.
- “I pasted the TXID into Solscan and nothing comes up”
- Fix: Solscan only works for Solana. For Ethereum/Base/Arbitrum/Optimism, you need the explorer for that exact chain.
- “The ‘to’ address on the explorer is different from what I meant to send to”
- Stop and do not send more. If you withdrew from an exchange, contact support immediately with the TXID. If you sent from a wallet, assume your device may be compromised and move any remaining funds to a fresh wallet on a clean device.
How to Send Crypto to Another Wallet (Beginner-safe Flow)
This is the safest repeatable pattern: make it boring, do a test send, then scale.
- In the receiving wallet, tap Receive and copy the address (or scan the QR code).
- On the receive screen, confirm the correct asset and network are selected.
- In the sending wallet or exchange, choose Send/Withdraw and paste the address.
- Double-check the first 4 and last 4 characters match what you copied.
- Send a small test amount.
- Open the TXID in the correct block explorer and confirm it’s confirmed and the “to” address matches.
- Send the rest.
If a platform shows a Memo/Tag field, treat it as required. Missing it can turn a simple transfer into a long support ticket.
Moving Crypto From an Exchange to Your Wallet (And Back)
Beginners usually start on an exchange. That’s fine. The key is moving funds without guessing.
- In your wallet, tap Receive, then pick the asset and the network.
- Copy the address from the Receive screen (and copy the Memo/Tag too, if it shows one).
- In the exchange, open Withdraw/Send and choose the same asset.
- Choose the exact same network shown on your wallet Receive screen.
- Paste the address (and Memo/Tag if required), then re-check the first 4 and last 4 characters.
- Send a small test withdrawal.
- Confirm it arrived in your wallet and that the TXID shows “confirmed” on the correct block explorer.
- Send the remaining amount.
If your exchange supports address whitelisting, enable it. It slows you down in a good way (and can block withdrawals to a new address until you confirm it).
KYC, Privacy and What Wallets Ask For
Creating a self-custody wallet usually does not require KYC. KYC tends to show up when you use fiat features: buying with a card, bank transfer, or cashing out.
| Action | KYC required? | Why |
|---|---|---|
| Create a wallet | Usually no | You’re generating keys on your device |
| Send/receive crypto | No | The blockchain doesn’t ask for ID |
| Buy crypto with card/bank | Often yes | Payment rails require compliance |
| Cash out to bank | Often yes | Off-ramps must verify identity |
Privacy reality check: blockchains are public. Even without your name attached, your address activity can often be analyzed. If privacy matters, separate your “public” wallet from your “savings” wallet.
Crypto Wallet Scams to Avoid in 2026
Most beginner losses come from three patterns: fake apps, fake support, and approvals you didn’t understand.
| Scam type | What it looks like | What it’s really doing | The beginner rule |
|---|---|---|---|
| Fake app/extension | A perfect clone with ads and a similar name | Steals seed phrase or signs malicious tx | Only install from official sources |
| Fake support | A DM offering “help” and a link | Phishing for seed phrase | Support never needs your seed |
| Approval drainer | “Claim” or “mint” that asks for token permissions | Grants spending rights that drain later | Don’t approve what you can’t explain |
| Address swap malware | You paste an address and it changes | Sends funds to attacker address | Check first/last characters |
| Counterfeit hardware | “New” device that’s pre-initialized | Backdoored setup | Buy direct from manufacturer |
If You Think You Got Drained: A 10-minute Containment Plan
If your balance dropped right after connecting to a site, approving a token, or signing a message/transaction, assume there’s still an active path (a live session or a spending approval). Your goal is not to “fix the dApp.” Your goal is to stop any further outflows, then move whatever is left to safety.
- Close the scam site and disconnect wallet sessions.
- In your wallet, look for Connected sites/Sessions and disconnect anything you don’t recognize.
- Move remaining funds to a fresh wallet you control.
- Create a new wallet on a clean device/browser if possible, then send what’s left (start with the most valuable assets).
- Revoke token approvals on the affected chain.
- Focus on unlimited approvals first. If you’re not sure where to start, revoke approvals for tokens with the largest balances.
- Remove suspicious extensions/apps and secure your device.
- Uninstall unknown browser extensions, update your browser/OS, and run a malware scan.
- Save evidence and report.
- Copy the TXIDs, the scam URL, and the attacker address. If an exchange withdrawal was involved, contact the exchange with the TXID immediately.
After you contain it, treat the compromised wallet as “burned” for savings. Even if you revoke approvals, it’s safer to keep that wallet for small, low-risk testing only and move your long-term funds to a vault wallet that never connects to random links.
Troubleshooting: The Most Common Beginner Wallet Problems
Most wallet issues are boring UI/network problems. Use the explorer as your truth source.
| Problem | Common cause | What to do |
|---|---|---|
| Balance not showing | Wrong network selected | Switch to the correct network in the wallet |
| “Insufficient gas” | No native token for fees | Add a small gas buffer (ETH/SOL/BTC etc.) |
| Transaction pending | Network congestion or low fee | Wait, or speed up/replace if supported |
| Tokens missing | Token not added or indexed yet | Add token contract or refresh network |
| Can’t connect to a dApp | Old sessions or WalletConnect issues | Disconnect sessions and reconnect |
| Sent on wrong network | Mismatched network on withdraw/deposit | Stop, don’t send more, document TXID |
If the explorer shows “confirmed,” the funds moved. If the app doesn’t show it, you’re usually looking at the wrong network or the UI hasn’t refreshed.