Disclaimer: CryptoSlate may receive a commission when you click links on our site and make a purchase or complete an action with a third party. This does not influence our editorial independence, reviews, or ratings, and we always aim to provide accurate, transparent information to our readers.
Choosing the best USDT wallet is not just about picking the most popular app. The right choice also depends on which Tether networks the wallet supports, how much you will pay to send funds, and whether you want full self-custody or a simpler managed experience.
In this guide, we compare the best Tether wallets for different use cases, including TRC20 transfers, ERC20 compatibility, mobile apps, and cold storage. We also explain how a USDT wallet works, how wallet addresses differ by network, how to create and use a wallet safely, and how to transfer Tether without making costly mistakes.
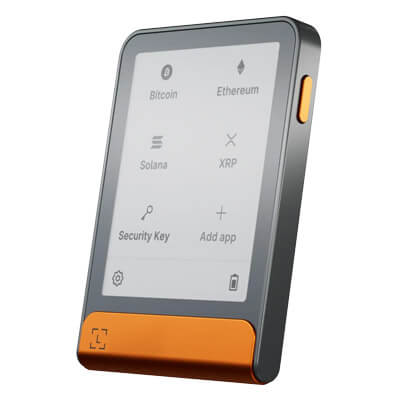
These top picks show that there is no single best Tether wallet for every type of user. Trust Wallet and Exodus stand out for flexibility and ease of use, SafePal is a stronger fit for TRC20-heavy transfers, MetaMask makes more sense for ERC20 and DeFi activity, and Ledger is better when long-term security matters more than convenience. The comparison table below should make those trade-offs easier to scan by putting custody, supported USDT networks, platform coverage, and ideal use case side by side.
Some exchanges and wallets list USDT on BNB Smart Chain as “BEP20” and USDT on Polygon. These routes are not listed on Tether’s supported-protocol page, so only use them when both the sender and receiver explicitly support that exact network.
The clearest pattern in the table is that hot wallets win on convenience while hardware wallets win on security. Trust Wallet and Exodus are the strongest general-use options if you want to hold and move USDT regularly, especially across more than one network. SafePal is a better fit if you prioritize TRC20 transfers and lower-cost movement, while MetaMask is more compelling for ERC20 USDT and DeFi use than for TRON-based Tether. Ledger stands apart as the best option for long-term storage, where protecting a larger balance matters more than quick day-to-day access.
If you’d rather choose by scenario than features, the use-case table below maps the most common USDT workflows (TRC20 transfers, ERC20 DeFi, long-term storage) to the best wallet for the job.
Best Tether Wallets By Use Case
Different Tether wallets solve different problems. Some are better for low-fee TRC20 transfers, some are better for ERC20 and DeFi, and some make more sense when security matters more than convenience. This table pulls those use cases into one place so you can match the wallet to how you actually use USDT.
Use case
Best wallet
Main USDT networks
Why it stands out
Best for
Main drawback
Best overall USDT wallet
Trust Wallet
ERC20, TRC20, and other supported in-app routes
It combines broad network coverage, an easy mobile experience, and self-custody without forcing a complex setup. It is one of the easiest ways to manage Tether across common routes from a single app.
Most users who want one flexible wallet for storing, receiving, and sending USDT.
It does not give you the same hardware-first security as a device wallet, and power users may want deeper DeFi tooling.
Best for beginners
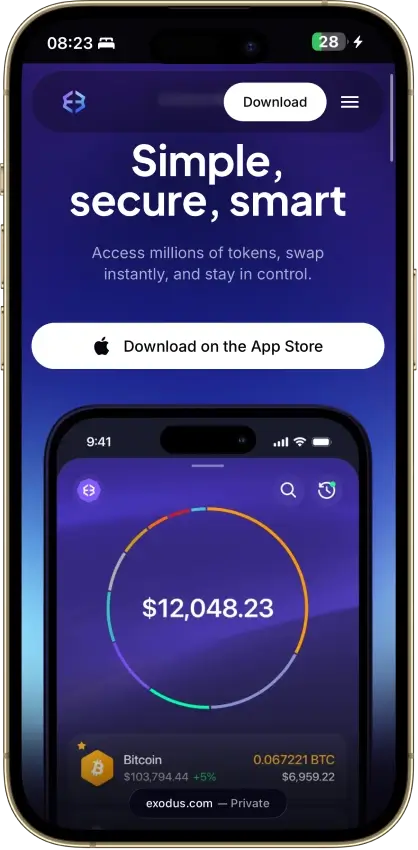
Exodus
ERC20, TRC20 on desktop and mobile, plus other supported networks such as Solana and Polygon (platform-listed route)
Exodus has one of the cleanest interfaces in the category, which helps newer users understand balances, networks, and transfers without getting lost. Desktop support also helps if you do not want to manage everything on a phone.
Newer USDT users who want a wallet that feels straightforward on both mobile and desktop.
Its Web3 experience is not identical across every network, and advanced DeFi users may still prefer MetaMask.
Best USDT wallet app
Exodus
ERC20, TRC20 on desktop and mobile, plus other supported networks
The app experience is polished, easy to scan, and available across mobile, desktop, and browser extension, though TRON is not supported in Exodus Web3 Wallet. That makes it a strong pick if you specifically want the best USDT wallet app rather than a cold-storage-first product.
Users who care most about ease of use, device flexibility, and simple portfolio management.
Built-in swaps and buys can add spread or service costs compared with moving funds manually.
Best wallet for USDT TRC20
SafePal
TRC20, ERC20 (plus BSC/BEP20 routes where supported)
SafePal is the best fit when cheap TRON-based transfers are the priority. It gives access to TRC20 USDT inside a broader multichain wallet, so it still works well if you move funds between ecosystems.
Anyone who sends USDT often and wants to keep transfer costs down.
The interface can feel more crowded than a simpler beginner wallet, especially if you only use one or two chains.
Best wallet for USDT ERC20
MetaMask
ERC20 and other EVM-compatible routes
MetaMask remains the most natural choice for ERC20 USDT when the goal is DeFi access, token approvals, browser-based workflows, and Ethereum ecosystem compatibility.
DeFi users, DEX traders, and anyone who spends most of their time on Ethereum and EVM networks.
ERC20 transfers can cost more than TRC20, and MetaMask is less beginner-friendly than Exodus or Trust Wallet.
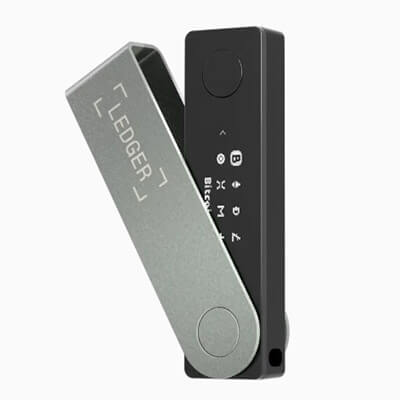
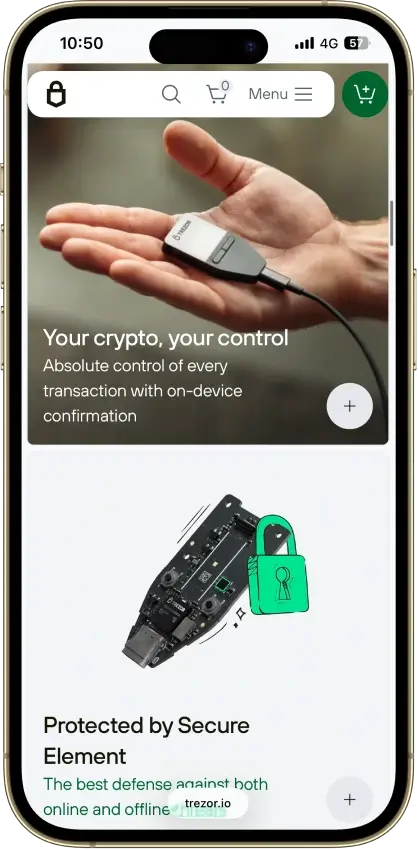
Best cold wallet for Tether
Ledger
ERC20 directly, with broader USDT access through compatible wallet connections
Ledger is the strongest USDT cold wallet option if you want to secure larger USDT balances offline. It shifts the focus away from convenience and toward long-term key protection.
Long-term holders and security-first users.
It costs money upfront and is slower to use for quick everyday transfers.
Best free USDT wallet
Trust Wallet
ERC20, TRC20, and other supported in-app routes
Trust Wallet is free to install, simple to start using, and broad enough for most mainstream USDT use cases.
Users who want self-custody without paying for a device or desktop-first setup.
Free does not mean fee-free. You still pay network fees and any swap or on-ramp costs.
Best for multichain users
Exodus
ERC20, TRC20 on desktop and mobile, plus other supported networks such as Solana and Polygon (platform-listed route)
Exodus is especially useful if you do not want a separate wallet for every chain. It gives a cleaner way to manage Tether across several supported networks with a lower learning curve than many multichain alternatives.
Users who move between Ethereum, Solana, Polygon (platform-listed route), and TRON (on Exodus Mobile/Desktop), plus other supported ecosystems.
TRON/TRC20 is supported on Exodus Mobile and Desktop, but not in Exodus Web3 Wallet (browser extension), so confirm the platform before transferring funds.
The biggest split here is between convenience and specialization. Trust Wallet and Exodus are the easiest places to start, SafePal is stronger when TRC20 transfer costs matter most, MetaMask is the better fit for ERC20 and DeFi-heavy use, and Ledger is the right answer when storage security matters more than speed. The detailed reviews below expand on those trade-offs so you can see where each wallet fits beyond the headline label.
Detailed Review - Tether Crypto Wallets
Phantom
Rank1
Our score8.5
Phantom still makes the most sense when Solana is your center of gravity and you want swaps, NFTs, staking, and scam-aware signing in one polished wallet. Its multi-chain reach is useful, but it is still a lighter fit for users whose main activity sits on Arbitrum, Optimism, BNB Chain, or Avalanche.
Pros
Solana still feels like the core product rather than an afterthought.
Supports eight major networks in one wallet.
Built-in swaps, NFT support, and SOL staking reduce the need for extra apps.
Ledger integration adds a stronger signing layer for larger balances.
Scam warnings and transaction prompts are more helpful than in many older hot wallets.
Cons
No native support for major chains like Arbitrum, Optimism, BSC, or Avalanche.
Fiat purchases depend on third-party providers, fees, and region-based KYC requirements.
Mobile dApp connections work through Phantom’s in-app browser, not Safari or Chrome.
Not fully open-source.
Bitcoin support is useful, but still less specialized than a dedicated Bitcoin wallet.
Trust Wallet works best as a one-app self-custody hub for users who want very broad chain coverage without splitting funds across multiple wallets. The trade-off is that partner-based buy, sell, and swap pricing varies by region, and the wallet’s sheer breadth increases the risk of wrong-network mistakes.
Pros
Supports a very wide range of assets and networks, so users can manage BTC, EVM assets, Solana tokens, and more in one wallet.
Built-in buying, swapping, staking, NFT handling, and dApp access reduce the need to juggle separate apps or wallets.
Ledger support through the browser extension gives desktop users a more secure signing option for higher-value activity.
Security Scanner and risky-transaction warnings add a useful layer of protection against some malicious approvals and scam flows.
MetaMask is still the easiest mainstream choice for Ethereum, Layer 2s, and day-to-day dApp use, especially if compatibility matters more than anything else. That convenience comes with familiar trade-offs, including extra browser exposure, added swap and bridge costs, and less depth for users who spend most of their time on Bitcoin or Solana.
Pros
MetaMask still has the strongest dApp compatibility among mainstream hot wallets, especially for Ethereum, Layer 2s, DeFi tools, and NFT marketplaces.
Multichain support is broader than before, which reduces the need to juggle separate apps for common assets.
Built-in swaps and bridging are convenient, and MetaMask clearly discloses its 0.875% service fee instead of hiding it inside vague quote spreads.
Security alerts are enabled by default and warn users about suspected malicious transactions before they sign.
Ledger and Trezor integration lets users keep MetaMask’s familiar interface while moving signing to a hardware wallet.
Cons
MetaMask is still a hot wallet, so a compromised browser, phone, or recovery phrase can expose funds quickly.
Swap and bridge costs can add up because the 0.875% MetaMask fee sits on top of network fees and third-party execution costs.
Privacy-conscious users may dislike the default RPC and telemetry setup unless they change settings or use alternative RPC endpoints.
MetaMask’s multichain support is broader than before, but power users on Bitcoin or Solana may still prefer more specialized wallets for deeper tooling.
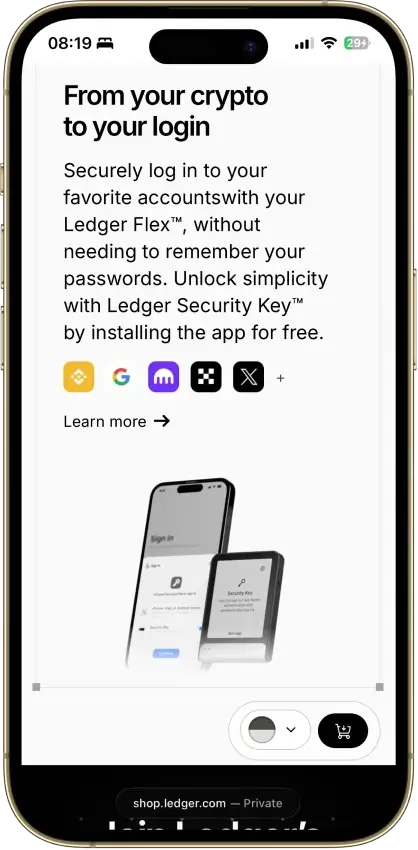
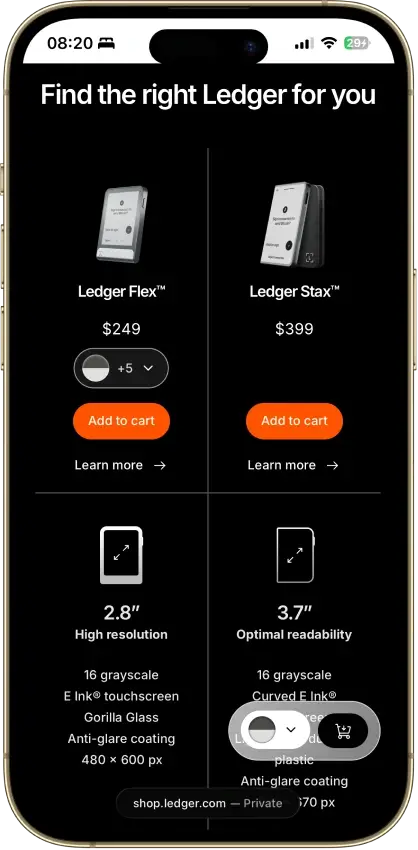
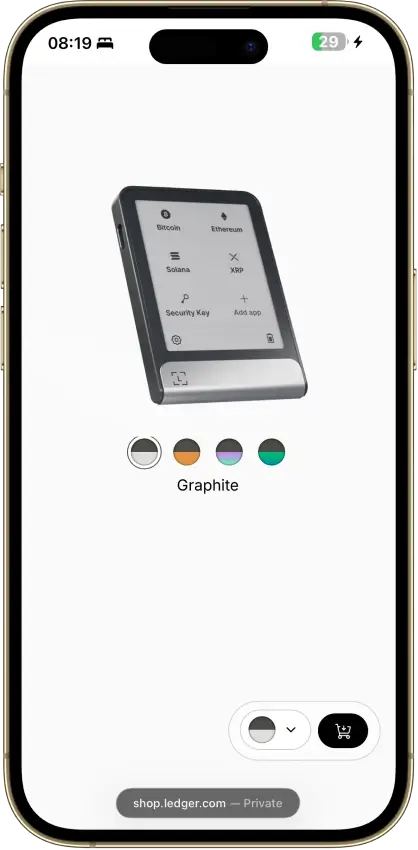
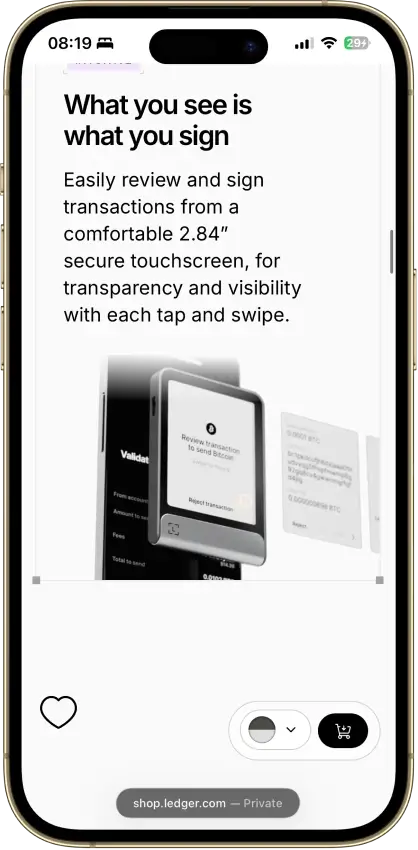
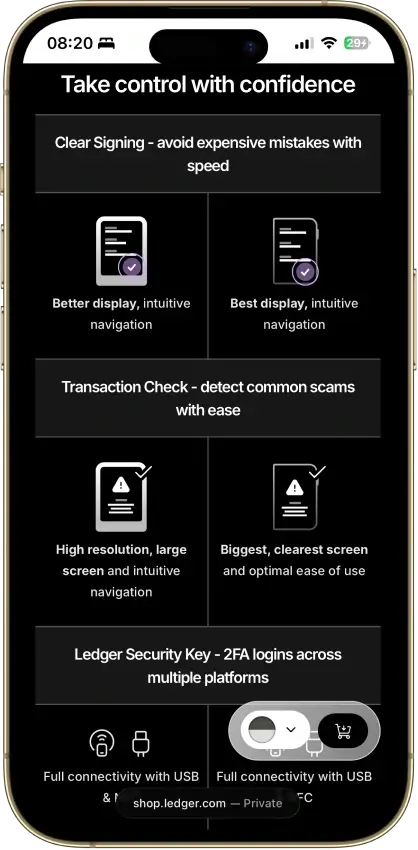
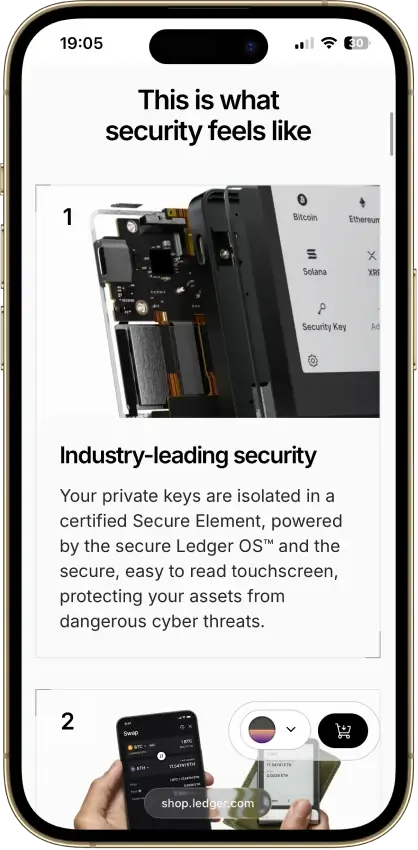
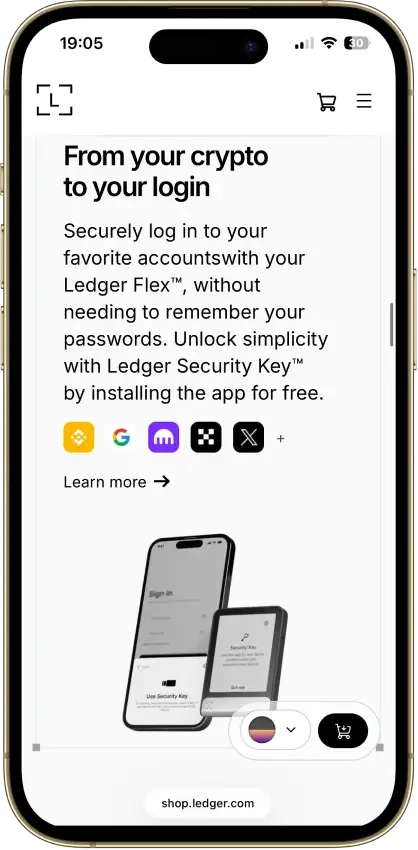
Ledger Flex is Ledger’s touchscreen hardware wallet for users who want clearer on-device transaction review than a Nano, without paying for Ledger Stax extras. It uses a 2.8-inch E Ink touchscreen, Bluetooth, USB-C, NFC, and a Secure Element chip, and current box contents include Ledger Recovery Key for an extra offline backup path. It fits people who move between desktop and phone, sign transactions regularly, and want simpler prompts than two-button devices provide. The trade-offs are clear: it is not air-gapped, it is not fully open source, and some assets still rely on third-party wallets instead of Ledger Wallet alone.
Pros
The 2.8-inch E Ink touchscreen makes addresses, token approvals, and transaction details easier to review than on button-based Ledger devices.
iPhone support over Bluetooth and Android support over Bluetooth or cable make Flex much more practical for mixed mobile use than USB-only hardware wallets.
The backup setup is more flexible than older Ledger models because it combines a standard 24-word Secret Recovery Phrase with an included Ledger Recovery Key and optional Ledger Recover.
Recovery is not locked to Ledger. You can restore the wallet with the recovery phrase in a compatible BIP39 environment.
It keeps most of the practical touchscreen and mobile value people want from Stax while staying at a lower price.
Cons
- At $249, Flex is still expensive if you mainly buy, hold, and rarely approve transactions.
It is not air-gapped, because normal use still relies on USB-C, Bluetooth, and NFC rather than QR-only isolation.
The security model is not fully open-source, which matters if you want a more transparent firmware and hardware stack.
Desktop use still leans heavily on USB-C because Ledger Wallet desktop does not support Bluetooth pairing.
Some assets and chain-specific workflows still depend on compatible third-party wallets instead of staying fully inside Ledger Wallet.
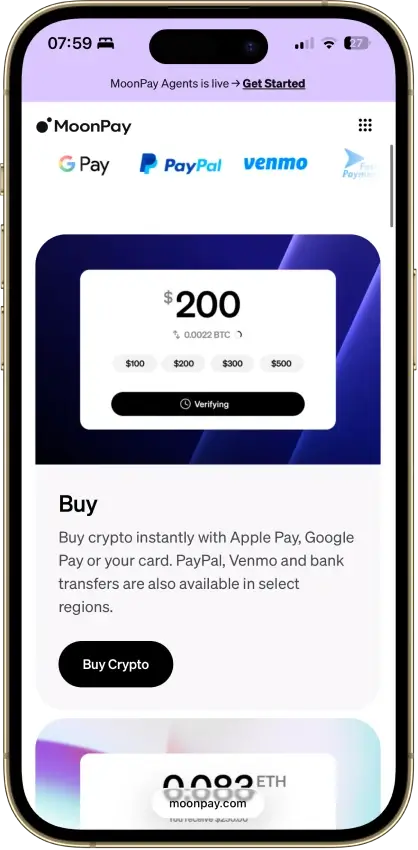
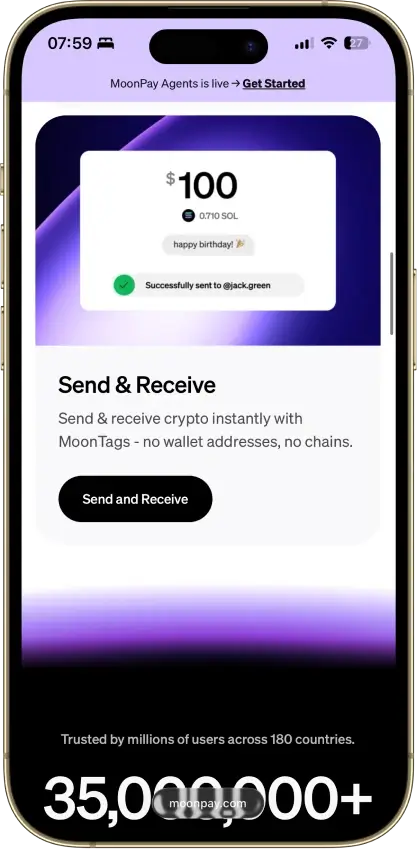
MoonPay is more appealing as a self-custody wallet for people who want buying and cash-out built into the same app than for pure onchain power users. Its main advantage is integrated fiat rails with clearer fee disclosure, while the main drawbacks are regional feature limits, pricier card purchases, and security that still leans heavily on email and OTP.
Pros
MoonPay’s in-app wallets are non-custodial, and you can export the recovery phrase to import the wallet into another app if you want to leave the MoonPay ecosystem later.
The mobile app covers the main retail flow in one place: buy, sell, send, receive, and convert, which removes a lot of setup friction for newer users.
MoonTags make transfers between MoonPay users easier because you can use a username instead of manually checking long wallet addresses.
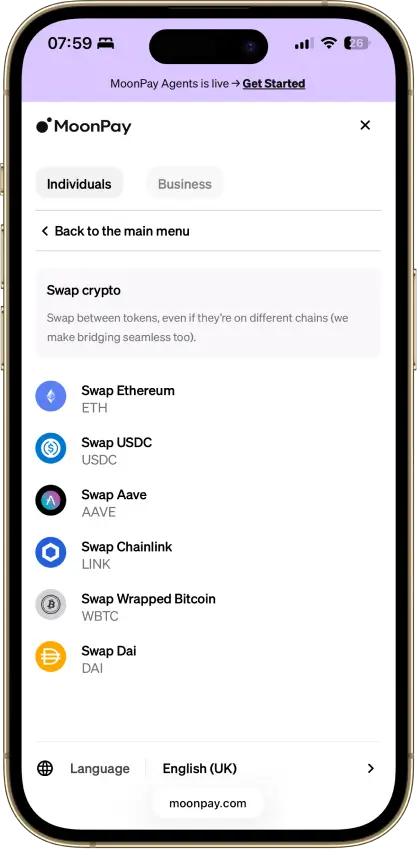
MoonPay Convert supports same-chain and cross-chain swaps through Swaps.xyz, which is more useful than a basic single-chain token swap tool.
Cons
- Verification is part of the product, not an edge case. MoonPay requires identity verification to unlock the full range of services, and higher limits or withdrawals can trigger source-of-wealth checks.
The wallet is mobile-first, with no dedicated browser extension or desktop-native wallet experience for users who spend most of their time in browser-based DeFi and Web3 tools.
MoonPay’s account-management guidance says the app is currently available only in English, which is a real limitation for a global consumer wallet.
Key features vary by region. Sell availability, payout methods, and MoonPay Pots access are not universal, so readers need to check whether their country or state is supported before relying on the app.
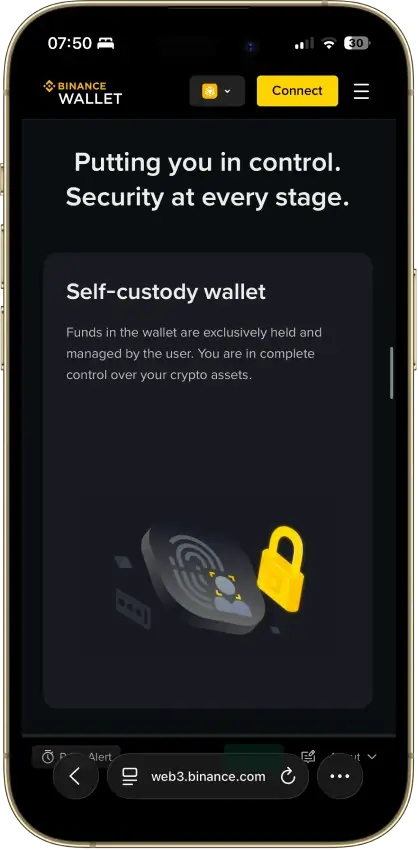
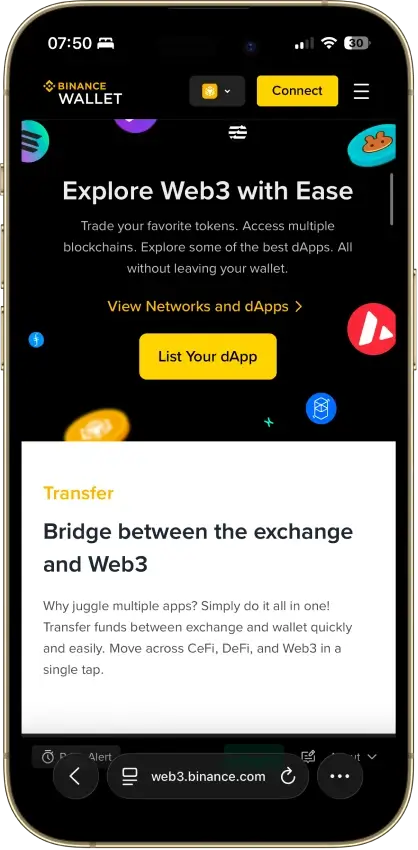
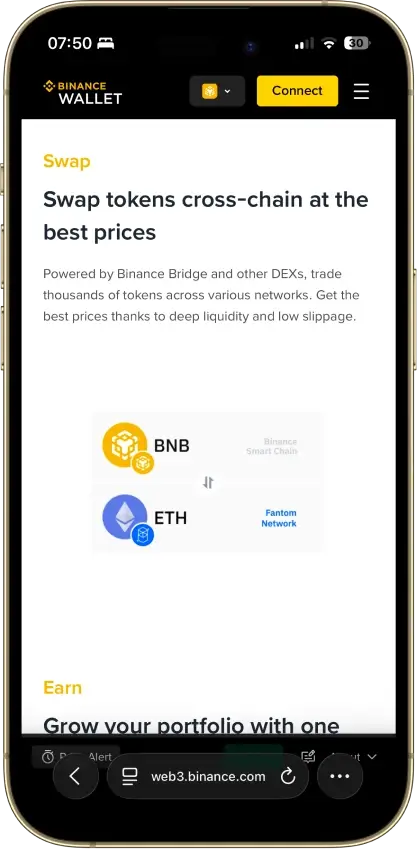
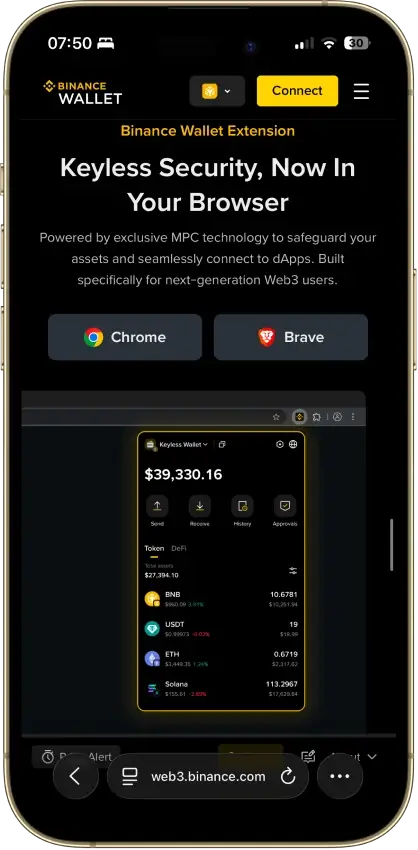
Binance Wallet is most compelling for existing Binance users who want a fast route from exchange balances into DeFi, swaps, and on-chain trading without assembling a separate wallet stack. It feels less independent than a standalone wallet, though, and recovery still depends on your device, cloud backup, and recovery password all staying intact.
Pros
Moving funds from Binance exchange balances into Web3 activity is smoother here than in most standalone wallets.
The keyless MPC setup removes seed-phrase handling at setup while still keeping the wallet self-custodial.
Built-in swap, bridge, dApp, and on-chain trading tools reduce the need to juggle multiple apps.
Mobile, web, and browser-extension access makes it easier to move from casual app use to desktop trading workflows.
Security features such as risk alerts and transaction warnings add useful friction before risky actions.
Cons
The product is tightly tied to Binance account and app flows, so it feels less independent than a classic standalone wallet.
Recovery still depends on your device, cloud backup, and recovery password, which can be a weak point if any part is lost.
Some wallet features and product access can vary by region.
Hardware wallet support is not clearly documented, so external signing options are harder to evaluate.
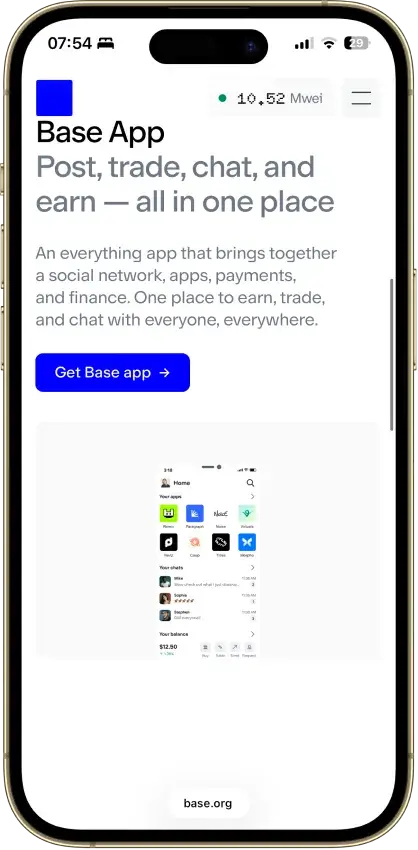
Base App is strongest for Coinbase users moving into self-custody who still want browser-extension dApp access and broad EVM coverage with some Solana support. It makes funding and cash-out easier than most rivals, but the multiple setup paths and uneven in-app swap coverage make it less straightforward than simpler wallets.
Pros
Coinbase-linked funding and transfers make the move from exchange custody to self-custody easier than in most rival wallets.
Strong chain coverage for a mainstream wallet: Ethereum, Solana, major EVM networks, plus mobile support for Bitcoin, Dogecoin, and Litecoin.
Browser extension support keeps it practical for desktop dApps, DEX trading, and NFT use instead of forcing everything through mobile.
Passkey and email-based sign-in options lower setup friction for users who do not want to start with a seed phrase.
Cons
The wallet uses more than one setup and sign-in path, which makes it harder to understand than a simpler wallet.
In-app swap support is narrower than storage support, so a token can appear in the wallet without being eligible for an in-app conversion.
Smart wallet and Base account transactions on Ethereum can cost more than standard Base app or extension transactions because of smart-contract overhead.
Funding, cash-out, and payment-method availability still depend heavily on region, provider coverage, and whether you linked a Coinbase account.
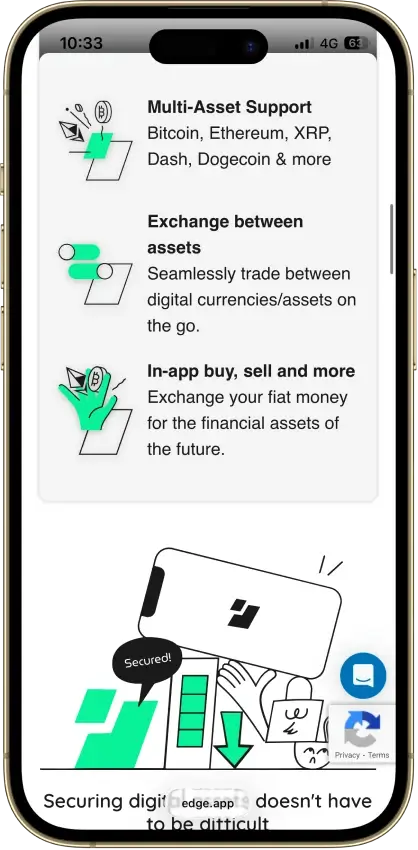
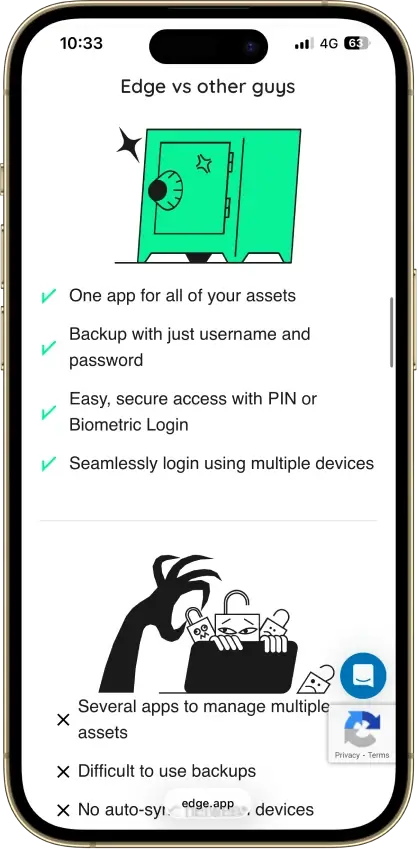
Edge Wallet is a free, non-custodial mobile wallet that covers Bitcoin, Ethereum, Solana, and dozens of other assets in one app. It uses account-style login with client-side encrypted keys, so recovery feels closer to a normal password reset than a seed-phrase backup drill. Built-in swaps, buy and sell options, and WalletConnect round out the feature set for everyday mobile use. The main gaps are hardware wallet support, a browser extension, and a dedicated desktop app. It suits mobile-first users who want broad asset coverage and easier self-custody. It is a weaker fit for desktop DeFi or cold storage.
Pros
Account-style login removes a lot of seed-management friction while still keeping keys encrypted on the user side.
Built-in buy, sell, swap, and WalletConnect features make it more useful for everyday mobile use than a basic send-and-receive wallet.
Multi-device sync lets users log into the same account on another phone without rebuilding wallets one by one.
Multiple wallets per account, custom wallet names, transaction tags, and fee controls make the app more practical than many stripped-down mobile wallets.
Cons
There is no dedicated desktop app or browser extension, so desktop-first DeFi and trading workflows are weaker here.
Hardware wallet support is not available, which removes the option to combine Edge with offline signing.
The account-recovery model is convenient, but users who prefer a clear seed-first backup flow may find it less transparent.
Buy, sell, swap, and some earn features depend on third-party partners, so fees, KYC, timing, and regional availability vary.
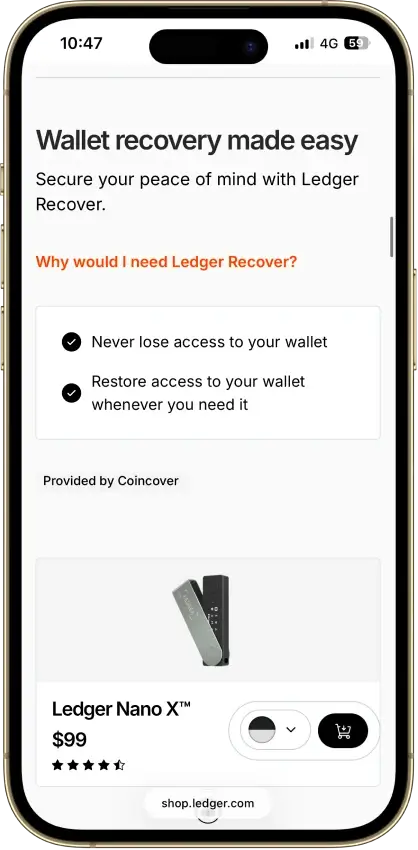
Ledger Nano X is a Bluetooth hardware wallet designed for users who want self-custody that works well with a phone, especially iPhone. The device keeps private keys offline in a Secure Element and requires on-device approval before transactions are signed. It connects to iOS through Bluetooth and to Android or desktop through Bluetooth or USB. Ledger Wallet supports more than 500 cryptocurrencies directly and thousands more through third-party wallets. The Nano X works best for long-term holders who still want mobile access to their funds. Its main drawbacks are the small screen, two-button navigation, and a built-in battery that eventually ages and cannot be replaced.
Pros
Bluetooth support makes Nano X the easiest classic Ledger to use with an iPhone.
Support for major assets is wide enough for most holders, including Bitcoin, Ethereum, XRP, Solana, and Cardano.
The device is small and light, so it is easier to carry than larger touchscreen wallets.
Ledger Wallet supports swaps and staking through integrated providers, so simple portfolio actions can stay in one main app.
Cons
The 128 x 64 screen is small, so checking long addresses and smart-contract prompts takes more time.
The built-in battery adds upkeep and can become a weak point after years of light use and storage.
iPhone support is Bluetooth-only, which limits users who prefer wired connections.
Some assets, NFT flows, and dApp sessions still depend on third-party wallets instead of a clean native path inside Ledger Wallet.
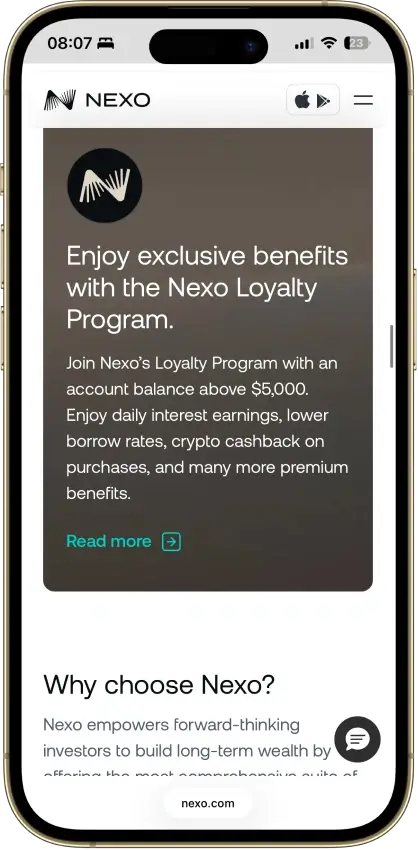
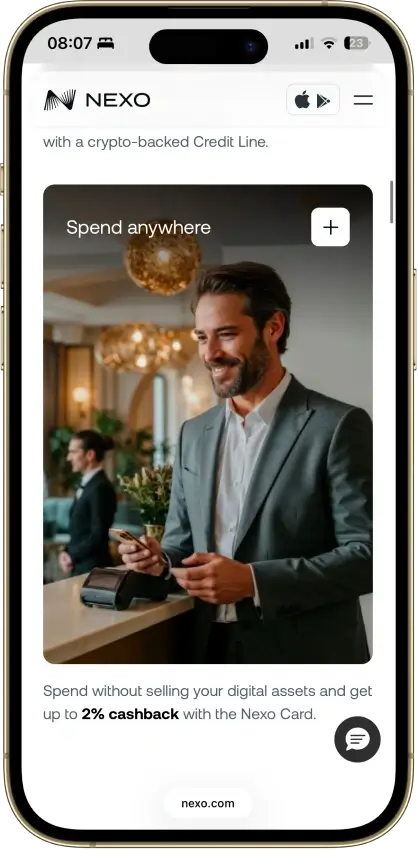
Nexo makes the most sense for users who want a centralized crypto account that combines wallet functions, in-app exchange tools, credit, and card features in one place. That convenience carries the usual custodial trade-off, since you do not control the keys, recovery depends on account access, and feature availability changes by region.
Pros
Supports multi-network deposits and withdrawals across major chains, which makes it easier to move assets over the route Nexo actually supports for each coin.
Combines custody, swaps, Nexo Pro trading, credit lines, and card spending in one account instead of forcing users to split those jobs across multiple apps.
Uses account-level protections such as authenticator support, biometrics, anti-phishing code, address whitelisting, and anti-scam withdrawal monitoring.
Available on web, iOS, and Android, so users can manage balances and transfers without being locked to a single device type.
Cons
Custodial by design, so you do not get a seed phrase or direct control of the private keys for platform balances.
Not a strong choice for wallet-native Web3 use, because the older Nexo Web3 wallet was sunset and the current product is built around managed account custody.
Requires full identity verification as part of the account model, which makes it a poor fit for privacy-first users.
Feature availability varies by jurisdiction and product line, so not every user gets the same mix of card, yield, credit, or transfer features.
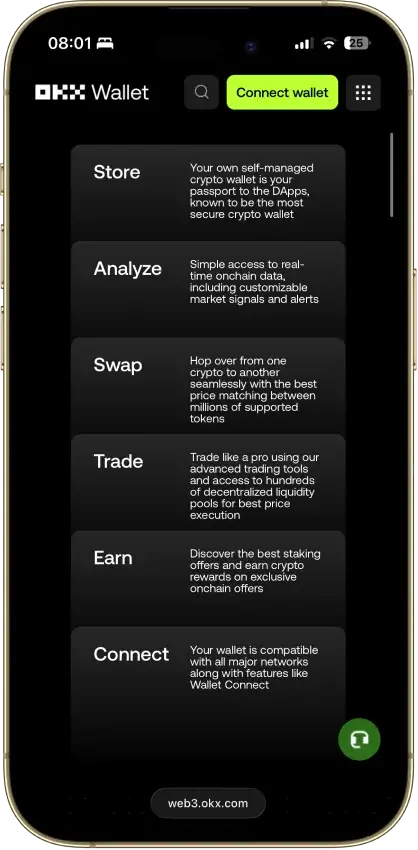
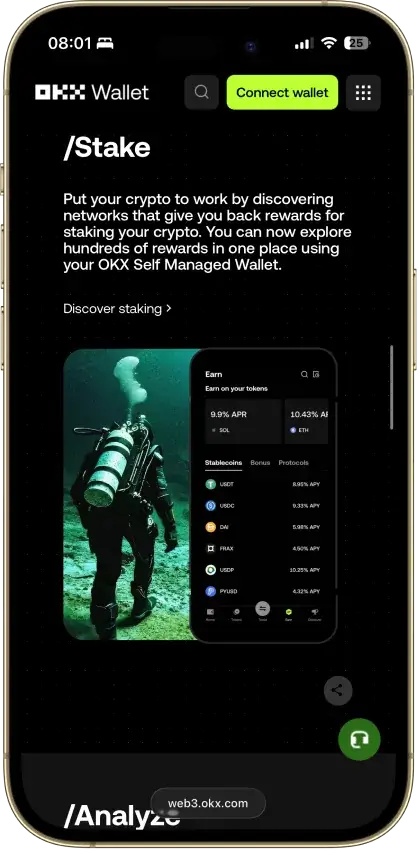
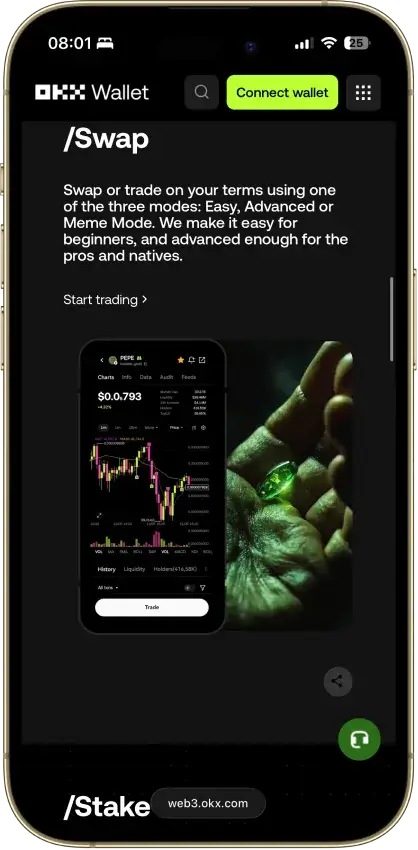
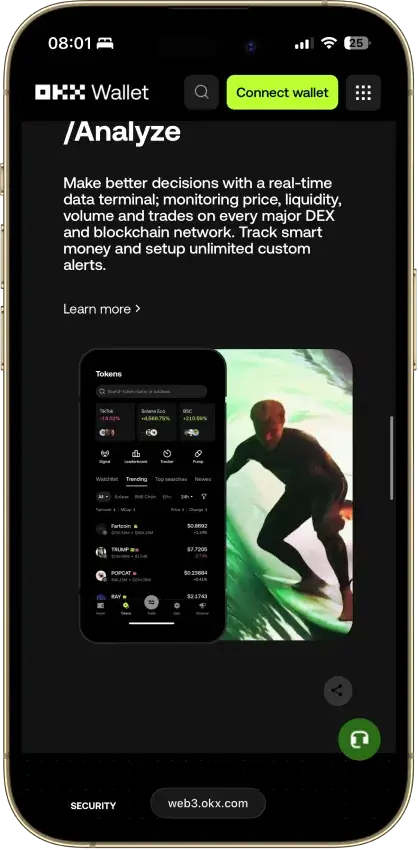
OKX Wallet suits users who regularly bridge, swap, and manage assets across many chains from one interface instead of juggling specialized apps. Its biggest drawback is complexity, because the feature depth, chain-by-chain variation, and layered transaction costs make mistakes easier for newer users.
Pros
Broad multichain support lets users manage assets, swaps, and dApp activity across many networks from one wallet.
Built-in DEX and cross-chain tooling reduce the need to leave the wallet for swaps, routing, and onchain discovery.
Supports dApp connections through both the browser extension and WalletConnect, which makes it flexible across desktop and mobile flows.
Keystone 3 and Keystone 3 Pro support adds an option for more isolated signing on both the app and browser extension.
Includes risk controls such as high-risk transaction interception, ownership-change attempts, and similar-address transfer scams.
Cons
Costs can stack quickly because users may pay gas, liquidity or price-impact costs, bridge fees, and OKX DEX interface fees on top.
The wallet is feature-dense, which makes it easier to make mistakes with chain selection, approvals, account modes, and transaction review.
Standard self-custody recovery means lost seed phrases or private keys cannot be reset or recovered by OKX.
Feature support is uneven across chains, so users should check sending, swaps, NFTs, and dApp support before moving funds.
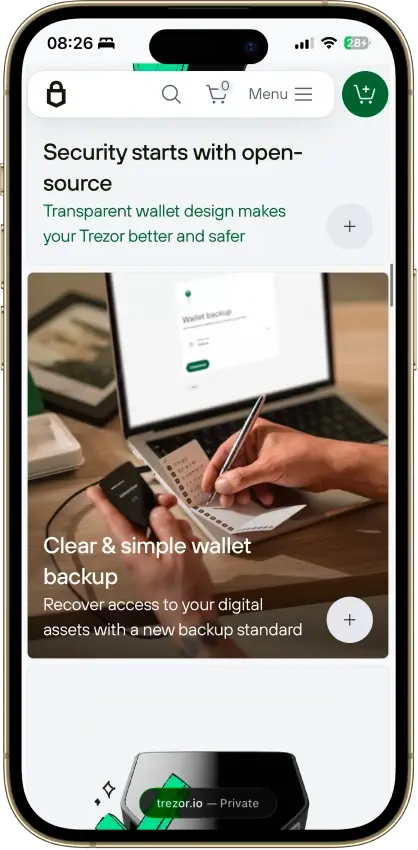
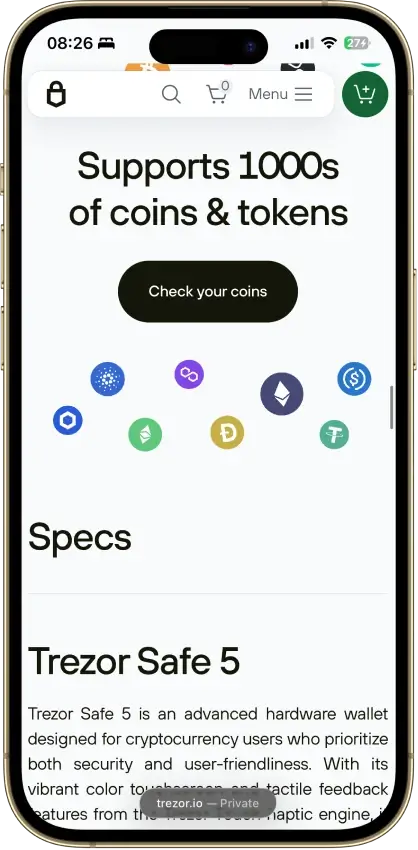
Trezor Safe 3 is Trezor’s lower-cost hardware wallet for people who want offline key storage, open-source design, and a secure element without paying for a touchscreen. It uses USB-C and works best with desktop or Android. You get strong core self-custody features, passphrase support, and flexible backup options. In return, you give up Bluetooth, battery power, touchscreen input, and full iPhone support. Safe 3 makes the most sense for people who want a simple cold wallet for long-term holding. It makes less sense for people who want fast mobile use or a bigger screen.
Pros
Lower cost than Safe 5 while still giving you a secure element and on-device approval.
Supports BIP39 and SLIP39 wallet backups, including the current 20-word Single-share Backup default on newer units.
Works well for desktop and Android users who want a simple wired signing flow without battery upkeep.
Open-source design makes it easier to inspect and compare against more closed hardware-wallet models.
Trezor Safe 3 Bitcoin-only and the standard Safe 3 give buyers a clear choice between a Bitcoin-only setup and broader multi-asset support.
Cons
Safe 3 is a weak fit for iPhone-first users. On iOS it is limited to portfolio tracking, buying, and receiving, with no sending, swapping, setup, or device management.
Small screen and two-button controls make address checks, PIN entry, and passphrase use slower than on touchscreen wallets.
No Bluetooth or battery means it always depends on a cable and host device.
Some assets and many dApp workflows still rely on third-party wallets outside Trezor Suite.
The lower price comes with fewer comfort features than Safe 5, especially for frequent signers.
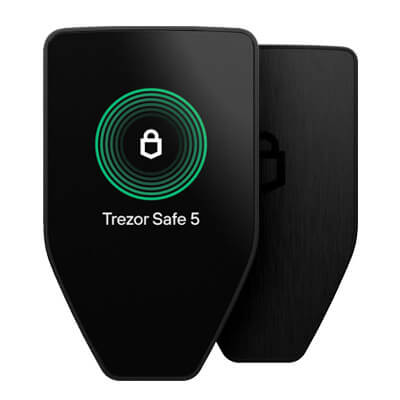
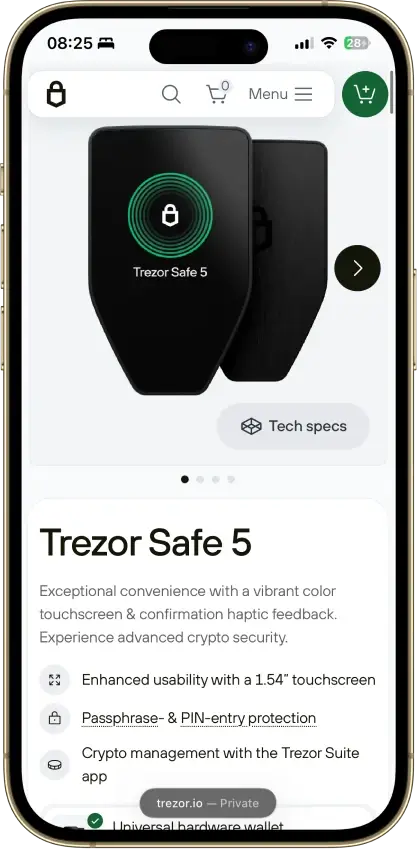
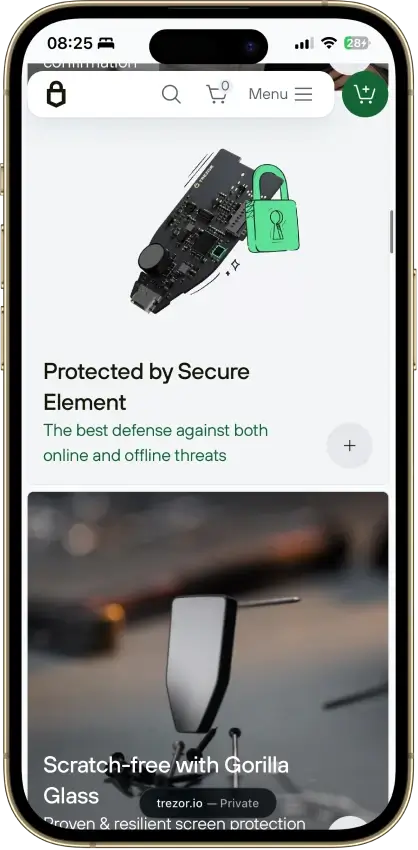
Trezor Safe 5 is a non-custodial USB-C hardware wallet for buyers who want clearer on-device verification than a button-based model without moving up to the more advanced Safe 7 tier. It keeps keys on the device, uses on-device approval, and works fully with desktop and Android. Its 1.54-inch touchscreen, haptic feedback, Gorilla Glass 3, EAL6+ secure element, and 20-word backup model make it a more comfortable everyday signer than Safe 3. The trade-offs are simple: no Bluetooth, no battery, limited iPhone and iPad support, and some chains or workflows that still depend on third-party wallets.
Pros
The 1.54-inch touchscreen and haptic feedback make PIN entry, passphrase entry, and address checks easier than on button-based models.
The default 20-word backup can later be upgraded to multi-share recovery without forcing a different wallet standard.
Desktop and Android give the full Safe 5 experience, and Trezor Suite plus WalletConnect now covers many common dApp workflows.
The EAL6+ secure element adds stronger protection against physical attacks than older Trezor models without a secure element.
Cons
iPhone and iPad support is limited to checking balances, buying, and receiving. No send, swap, setup, or device management on iOS.
Safe 5 uses a wired USB-C connection and skips Bluetooth, battery power, and QR air-gap workflows.
Unsupported chains, unsupported assets, and some wallet-specific workflows still push users into third-party wallets.
If you mostly buy and hold and rarely send, the extra cost over Trezor Safe 3 may not feel worth it.
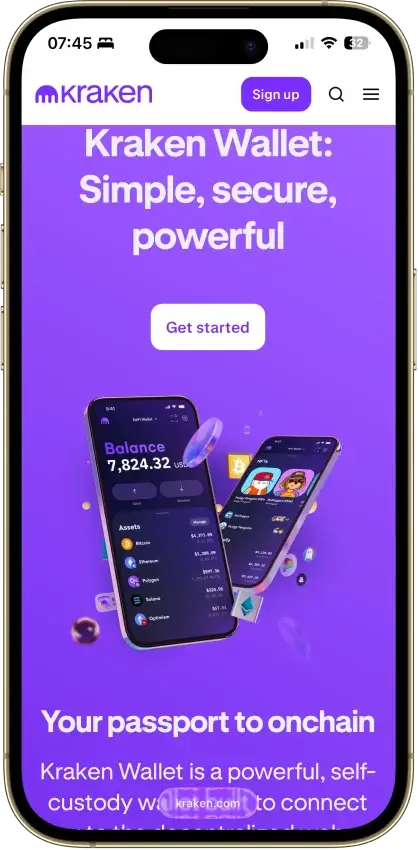
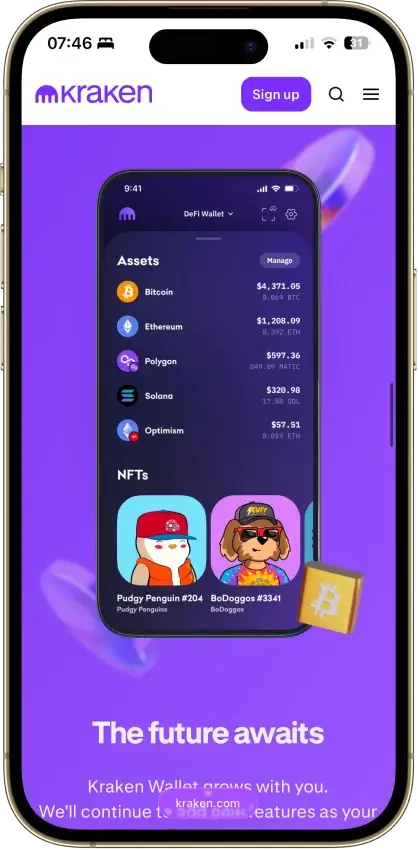
Kraken Wallet is one of the cleaner mobile-first self-custody options for users who want multi-chain coverage, optional Kraken transfers, and better scam warnings than many exchange-branded wallets. It is harder to recommend for desktop-heavy or hardware-first setups because there is no browser extension, no in-app hardware connection, and no direct fiat on-ramp.
Pros
Supports Bitcoin, Solana, Dogecoin, and major EVM networks in one mobile app.
Kraken Connect makes transfers between Kraken Exchange and the wallet easier than manual address copying.
Open-source code and a public audit give it more transparency than many exchange-branded wallets.
WalletConnect support gives users working dApp access without requiring a Kraken account.
Free to use on both iOS and Android.
Cons
No browser extension, so desktop dApp use is less convenient than MetaMask or Base App.
No in-app hardware-wallet connection for users who want stronger signing isolation.
Only one Secret Recovery Phrase can be active at a time.
Built-in swaps do not cover every chain or asset the wallet can display.
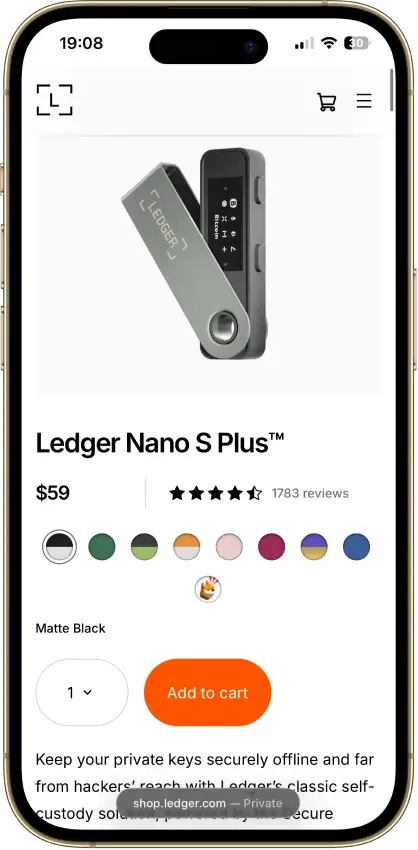
Ledger Nano S Plus is Ledger’s lower-cost USB hardware wallet for people who want broad coin support, offline key storage, and on-device approval without paying for Bluetooth or a touchscreen. Released in 2022 and still supported in 2026, it works with desktop and Android by cable and uses Ledger Wallet as the companion app. In return for the lower price, you give up iPhone support, wireless use, and a larger screen. It fits best as a simple desktop-first storage signer rather than an everyday mobile or DeFi wallet.
Pros
Low official pricing for a still-supported Ledger hardware wallet.
Strong core security model with Secure Element storage, on-device approval, and recovery based on a standard 24-word phrase.
Broad asset coverage, with much more app capacity than the original Nano S.
No battery and no Bluetooth, which keeps the device simple and removes battery upkeep.
Cons
No Nano S Plus hardware support on iPhone or iPad.
The small 128 x 64 screen and two-button navigation make repeated review slower and less comfortable.
Dense smart-contract and dApp signing are less clear than on larger touchscreen devices.
Some assets and advanced workflows still depend on third-party wallets.
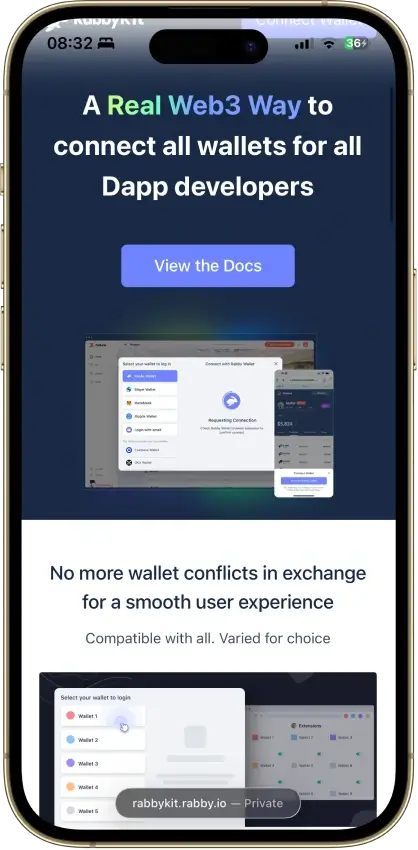
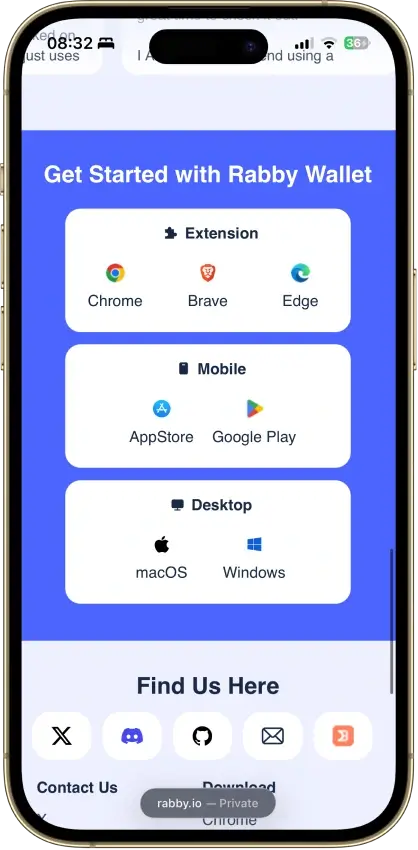
Rabby Wallet is a self-custodial wallet for Ethereum and EVM-compatible networks, built for users who interact with dApps, swaps, bridges, and DeFi positions regularly. It is available as a browser extension, mobile app, and desktop client, with strong hardware wallet support and public code repositories for its main clients. Its best-known strengths are transaction simulation, risky approval alerts, auto chain switching, whitelist tools, and better visibility into what a contract call will do before you sign. Rabby is not a universal all-chain wallet. It does not natively support Solana, Bitcoin, XRP Ledger, TRON, or Sui. That makes it a strong choice for EVM-heavy workflows, but a weak fit for users who want one wallet for every major ecosystem.
Pros
Good fit for frequent EVM dApp users
Strong transaction simulation and balance previews
Broad hardware wallet compatibility with clear platform split
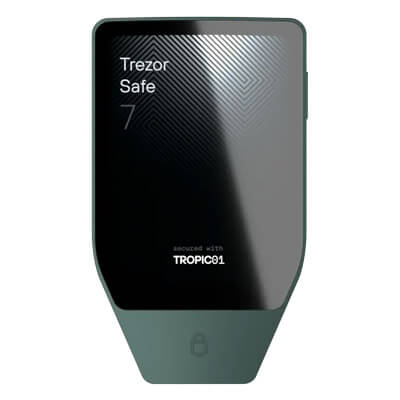
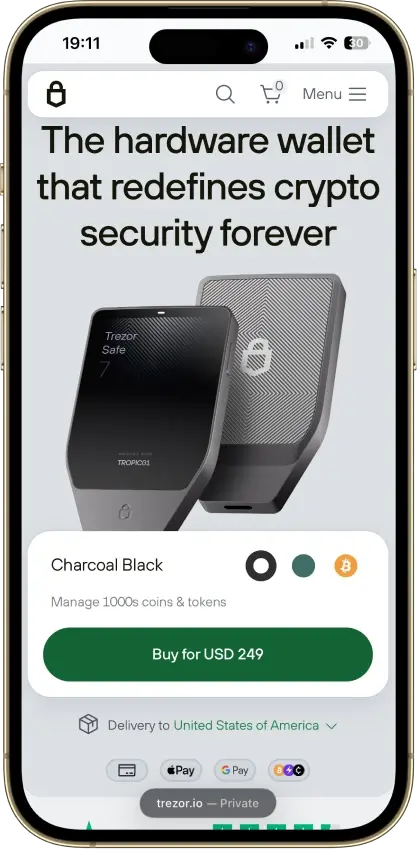
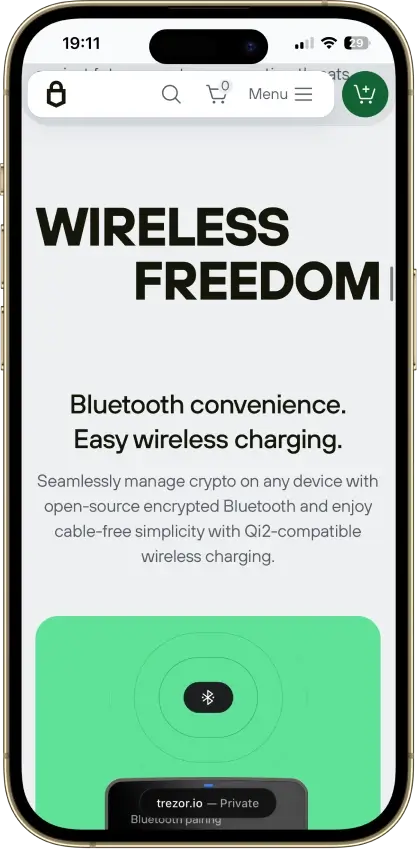
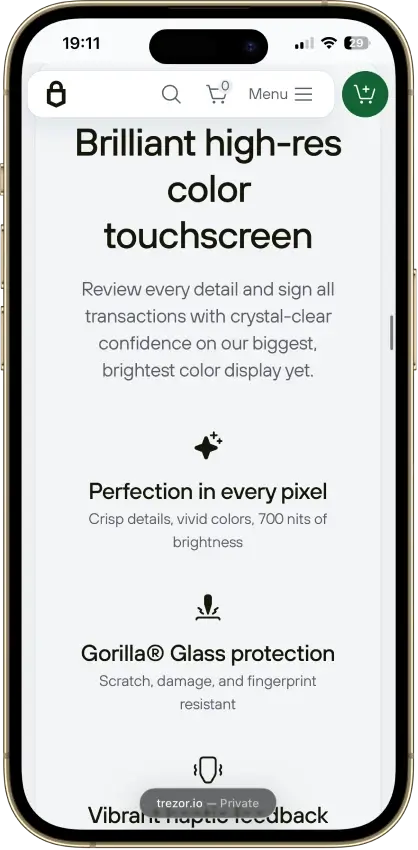
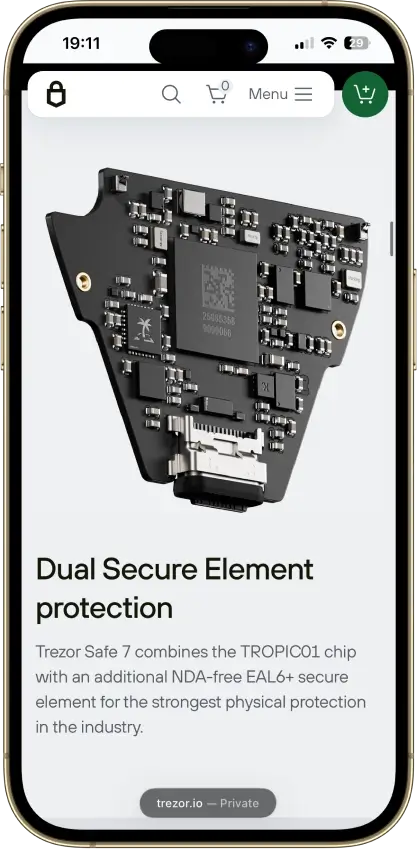
Trezor Safe 7 is Trezor’s premium wireless hardware wallet for users who want cold-storage security with better mobile ergonomics. It comes with Bluetooth, a built-in LiFePO4 battery, wireless charging, dual secure elements, and a larger touchscreen. The security model still centers on offline key storage, on-device confirmation, open-source firmware and protocol, and recovery from a written backup if the device fails. The main tradeoffs are price, the lack of working Monero support, and the fact that wireless convenience does not remove the need for careful backup handling. It fits mobile-first holders better than budget buyers or strict air-gap users.
Pros
Full Trezor Suite mobile support gives Safe 7 a stronger iPhone and Android fit than the rest of the current Trezor line.
The 2.5-inch touchscreen makes address checks, PIN entry, and transaction review more comfortable than on smaller-screen hardware wallets.
Bluetooth, USB-C, and a built-in LiFePO4 battery make it easier to use as a real mobile wallet instead of a device that stays in a drawer.
The security model keeps approval on the device itself, with dual secure elements, on-device verification, and support for hidden wallets via passphrase.
Recovery stays within a standard written-backup model, with support for default SLIP39 setup as well as BIP39 restore paths.
Cons
The $249 price is high relative to the rest of the Trezor lineup, especially if you mostly sign from a desktop.
Monero is not currently usable on Safe 7 in practice, which rules it out for readers who need XMR now.
Safe 7 is not an air-gapped wallet, so it is a weak fit for buyers who specifically want QR-only isolation.
Trezor does not currently document a microSD card slot or MicroSD Card Encryption support for Safe 7.
Some assets, dApps, and niche workflows still depend on selected third-party wallets rather than a fully native path.
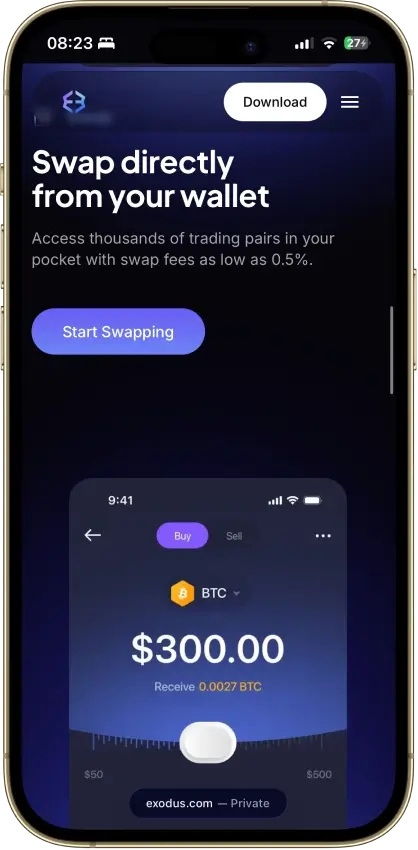
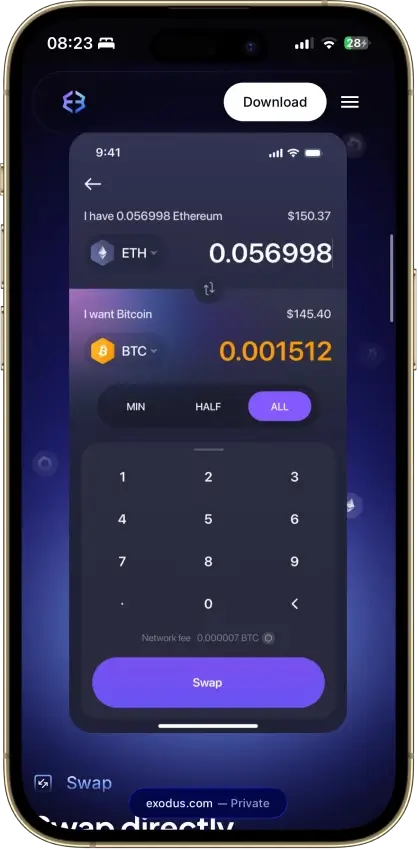
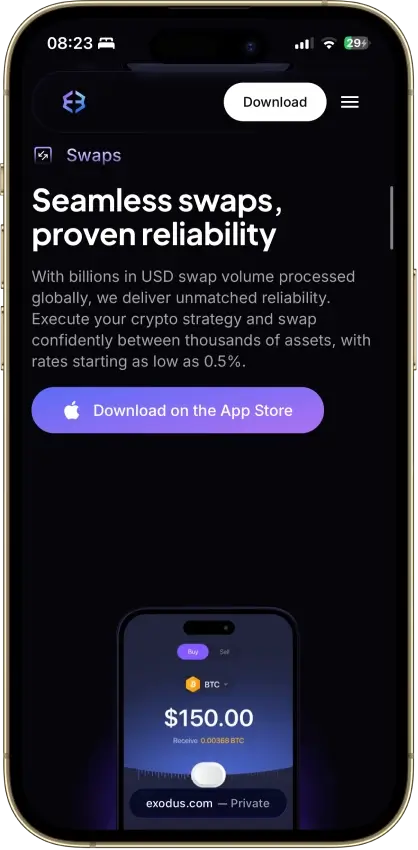
Exodus is a self-custody software wallet for desktop, mobile, and browser use. It is built for people who want to manage common crypto tasks in one place instead of splitting them across several apps. The wallet combines portfolio tracking, swaps, selected staking, NFT support, web3 connectivity, and optional hardware-wallet pairing. It works especially well for daily use and cross-platform convenience. The main limit is security depth. Exodus is still a hot wallet unless a supported hardware device handles signing, and it does not offer traditional 2FA, full open-source visibility, or a more advanced recovery model.
Pros
Strong desktop experience for users who want a clearer portfolio view than most mobile-first wallets.
Broad everyday feature set, including swaps, staking, NFTs, and web3 access in one interface.
Core wallet use does not require a normal account sign-up.
Custom-token support across 21 networks gives the wallet more flexibility than a simple mainstream-asset wallet.
Hardware-wallet support adds a safer signing path on supported Ledger and Trezor setups.
Cons
It is still a hot wallet by default unless paired with supported hardware.
Traditional 2FA is not available.
The wallet is only partially open-source.
Recovery still relies on a classic single-seed model rather than MPC, social recovery, or a more guided backup system.
Buy, sell, and swap pricing depends on third-party routes and can be harder to predict than a flat-fee model.
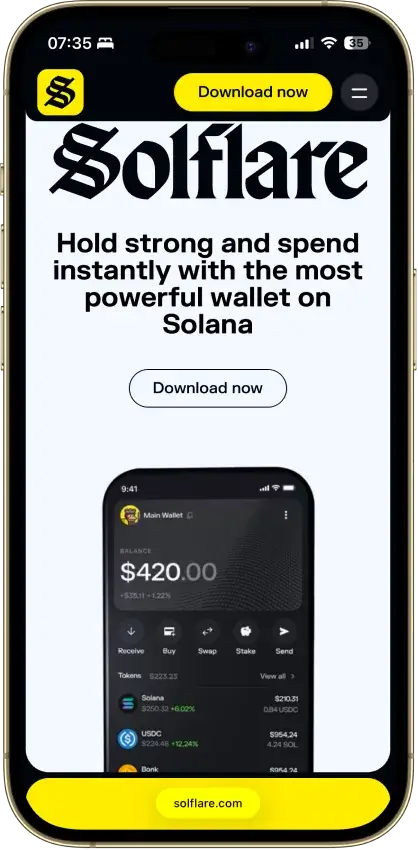
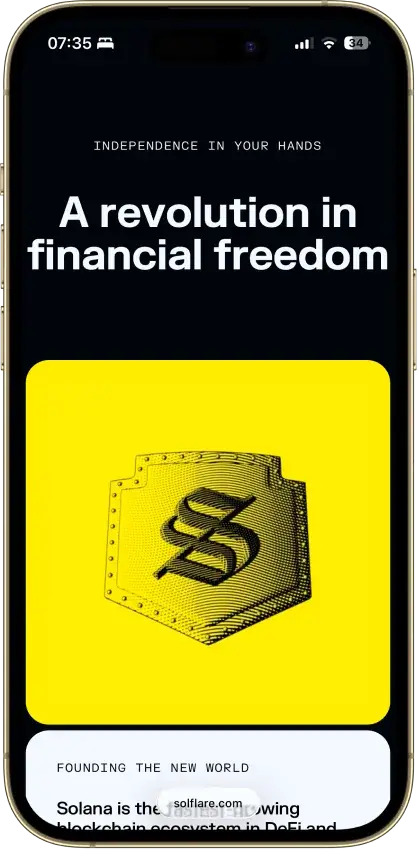
Solflare is easiest to recommend when Solana is your main ecosystem and you want staking, swaps, NFTs, and dApps in a wallet built around that workflow. It becomes much less flexible once you need serious multi-chain coverage, and its fiat flows still depend on third-party providers.
Pros
Deep Solana-native feature set with staking, swaps, NFTs, and dApp connectivity in one interface.
Supports hardware signing through Ledger, Keystone, and Solflare Shield for users who want stronger key isolation.
Available across web, browser extension, iOS, and Android, which makes it easier to manage the same wallet on desktop and mobile.
Recovery phrase export is supported for eligible software accounts, which helps with backup and wallet migration.
Built-in security tooling has improved with transaction simulation and scam-warning features before signing.
Cons
Narrow chain support, so it is a poor fit if you want Bitcoin, Ethereum, and Solana in one wallet.
Open-source visibility is limited. Some repositories are public, but the full wallet stack is not clearly open-source.
Fiat buys and card features rely on third-party providers or regional programs, adding compliance and support friction.
Self-custody is unforgiving: if you lose your recovery phrase and have no active backup, Solflare cannot restore access.
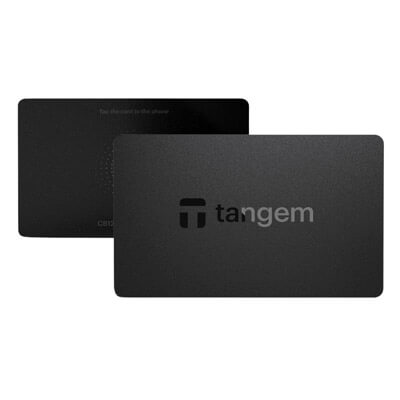
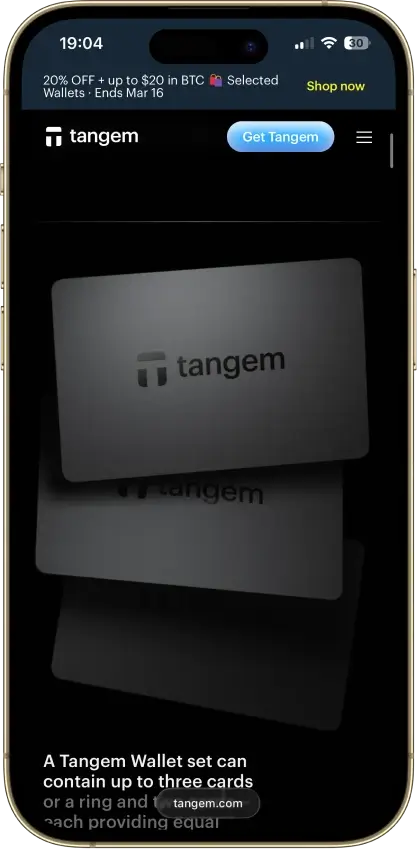
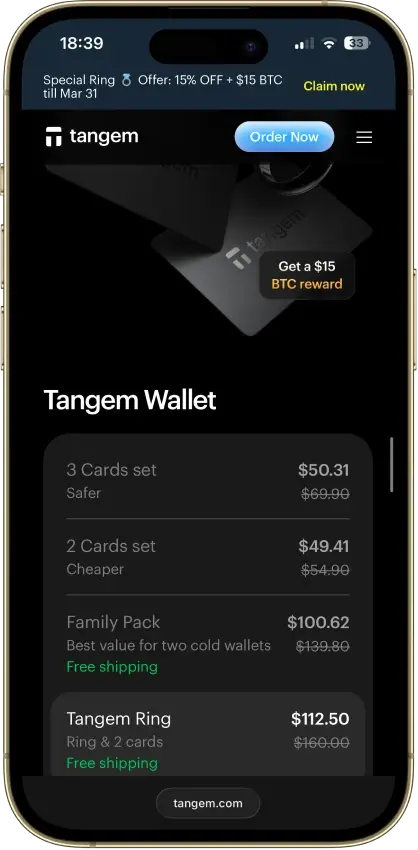
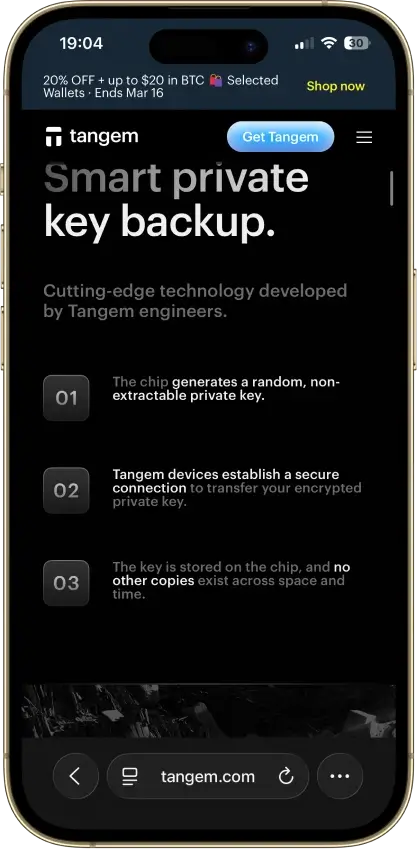
Tangem Wallet is a mobile-first hardware wallet that stores private keys in NFC cards or a ring instead of a USB device with a screen. The setup can be seedless or seed-based, and backup usually comes from two or three physical devices in the same set. That makes Tangem easy to carry and quick to use on iPhone or Android. The trade-offs are clear: no desktop suite, no built-in display, and no recovery path in seedless mode if every card is lost. For mobile-first self-custody, it is one of the lowest-friction cold-wallet designs. For buyers who want stronger independent verification or more flexible recovery, the limits show up quickly.
Pros
Seedless setup removes the written recovery phrase from the default flow.
NFC setup is fast, and the wallet has no battery, cable, or charging cycle.
Two or three devices can act as equal-access backups in the same wallet set.
One Tangem wallet can be used on multiple smartphones.
Multi-Accounts supports up to 20 active accounts, making it easier to separate long-term funds, daily-use funds, and dApp activity.
Cons
There is no hardware screen for final transaction review.
There is no native desktop suite or browser-extension-first experience.
All-device loss in a seedless setup means unrecoverable loss.
You cannot add a new backup device later to the same seedless wallet.
Some advanced flows still depend on WalletConnect, integrated providers, or phone NFC behavior.
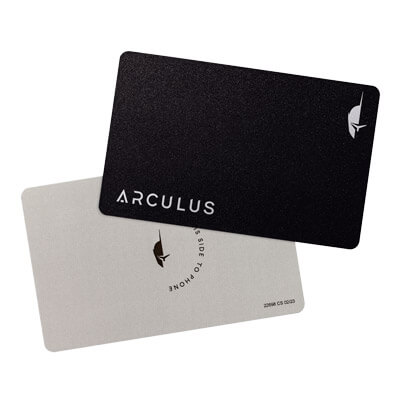
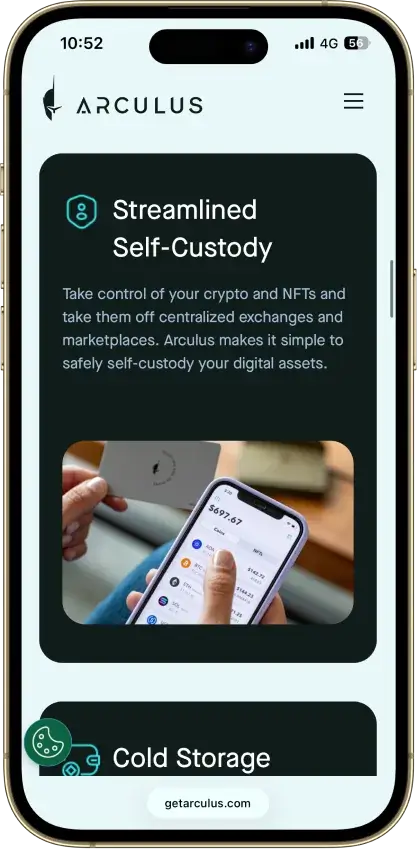
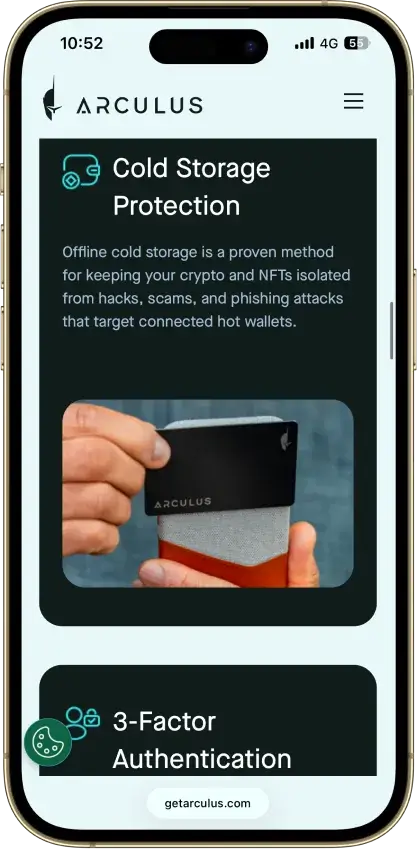
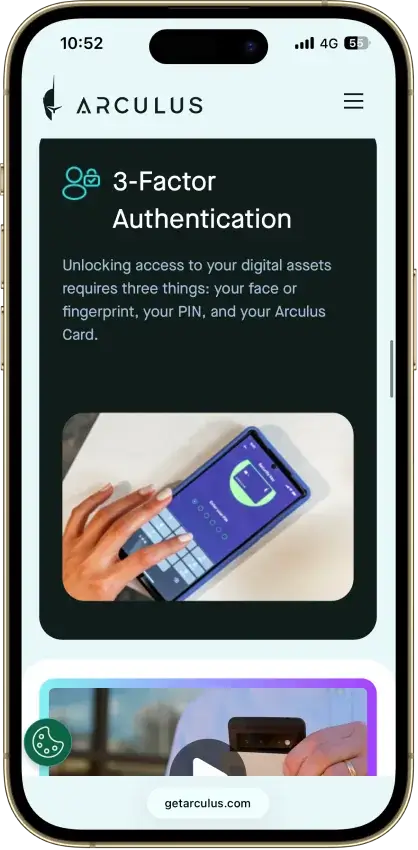
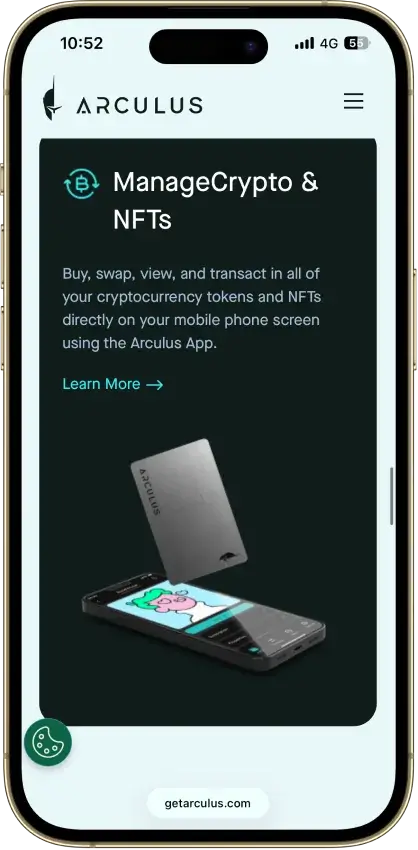
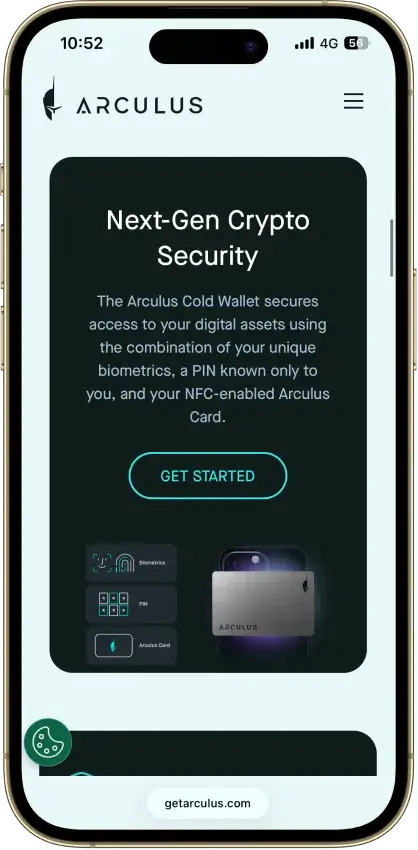
Arculus is a non-custodial cold wallet built around a metal NFC card and a mobile app. The card stores private keys on a CC EAL6+ secure element. The phone handles the interface. It supports 10,000+ coins and tokens across 27 blockchains, with built-in swaps, staking on selected assets, and WalletConnect for light web3 access. There is no desktop app, no built-in screen, and no native multisig. Recovery depends on a 12- or 24-word seed phrase. It suits passive holders and beginners who want self-custody on mobile without managing cables or a battery.
Pros
The card fits in a normal wallet, and there is no battery, cable, or Bluetooth routine to manage.
Keys stay on the card, so the phone app never becomes the place where private keys are stored.
Setup is easier to follow than on many button-based hardware wallets because the phone handles the full interface.
Built-in swaps and staking on supported assets reduce the need to move funds into another app for basic actions.
MetaMask and WalletConnect give it a usable path into web3 without turning it into a browser wallet.
Cons
There is no separate device screen for checking addresses and send details before approval.
The wallet is built around a phone, so it is a weak fit for desktop-first users.
Recovery still depends on a written seed phrase, not a simpler account-recovery system.
Native multisig is not part of the core product.
Each card pairs with one wallet at a time, which limits flexibility compared with some other card-style setups.
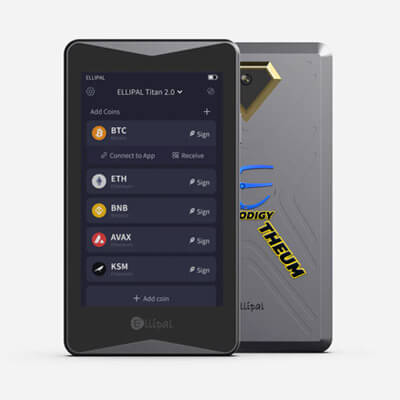
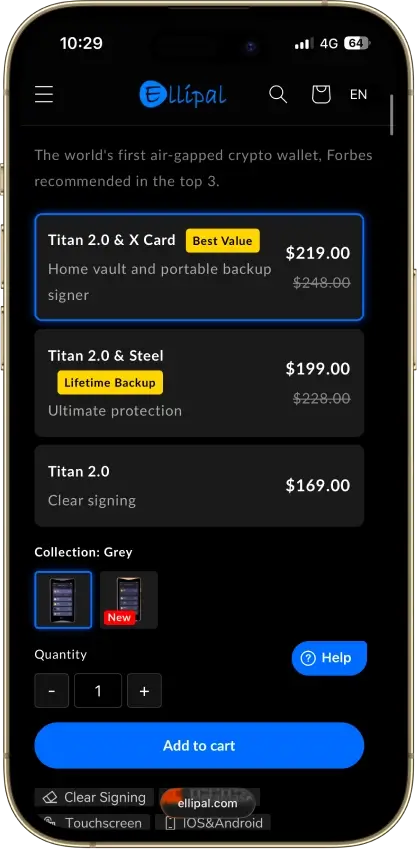
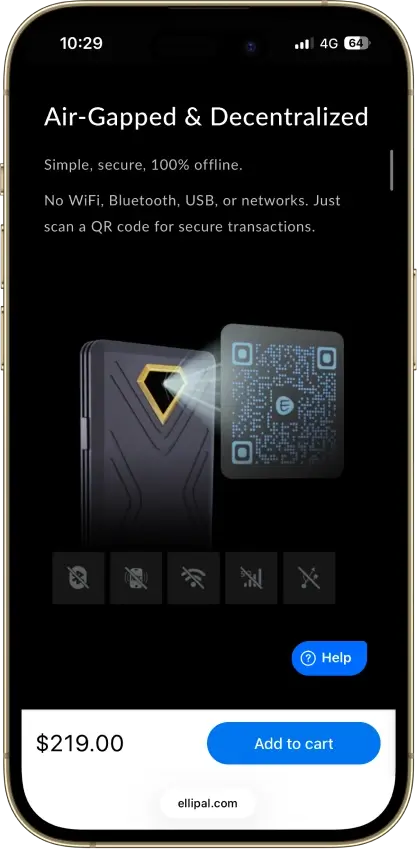
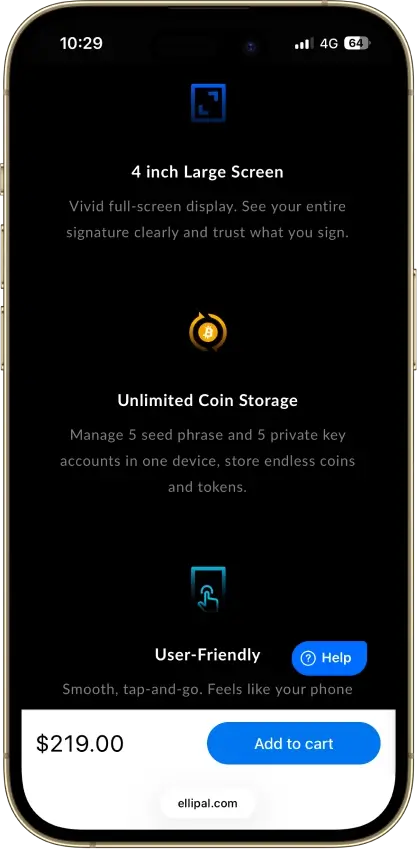
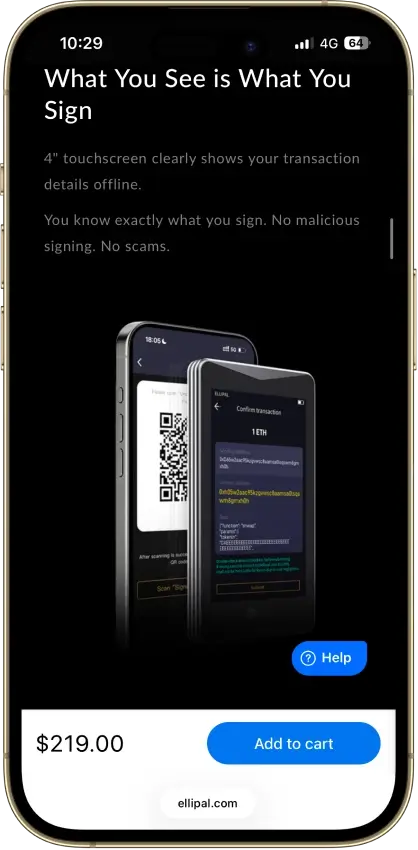
Ellipal Titan 2.0 is a QR-based hardware wallet for people who want offline signing without USB, Bluetooth, or Wi-Fi. It uses a 4-inch touchscreen, a CC EAL5+ secure element, and a sealed metal body, while the Ellipal app for iOS and Android handles balances, send and receive, custom tokens, swaps, buy and sell, staking, Discover, and market tracking. The upside is better physical isolation and easier on-device review. The tradeoff is slower daily use, heavy phone dependence for routine management, and manual MicroSD firmware updates.
Pros
QR-only signing removes USB, Bluetooth, Wi-Fi, and other live transaction links from normal use.
The 4-inch touchscreen gives more room to review addresses, amounts, and fees before approval.
The Ellipal app combines wallet management with swaps, buy and sell, staking, and web3 entry points.
The metal sealed body and tamper-focused design make the device feel more purpose-built than many cheaper air-gapped wallets.
Cons
Routine use depends heavily on the phone app for balances, token management, and transaction creation.
Every send takes longer because the workflow always loops through QR scans in both directions.
Firmware updates are manual and rely on a MicroSD card, adapter, and careful file handling.
Ellipal is only partially open source, which will matter to buyers comparing more transparent rivals.
The big pattern across the top picks is that they split cleanly by how you use USDT. If you move Tether often, the best options are the ones that make TRC20 vs ERC20 impossible to miss and keep sending friction low — that’s why Trust Wallet and SafePal show up so often for TRC20-heavy use. If USDT is mainly being used inside Ethereum/EVM apps, MetaMask is usually the more natural fit because it’s built around ERC20 workflows like approvals and signing. Exodus is strongest when you want USDT on both mobile and desktop, but TRON/TRC20 is supported on Exodus Mobile and Desktop and not in Exodus Web3 Wallet (browser extension), so confirm the platform before moving TRC20 USDT. Ledger sits in a different bucket altogether: it’s not about convenience, it’s about keeping a larger USDT balance safer when you don’t need to move it daily.
How We Ranked The Best Tether Wallets
We ranked wallets based on what actually matters for USDT: correct network support (TRC20 vs ERC20 and other routes), recovery quality, and day-to-day transfer safety. We also factored in custody model (self-custody vs custodial), platform coverage, and whether the wallet makes fees and gas requirements obvious before sending. The goal is not to crown a “perfect” wallet, but to help you pick the best USDT wallet for the way you move or store Tether.
What we scored
What we looked for (USDT-specific)
Why it matters
Verified USDT network support
Clear support for USDT (TRC20) and/or USDT (ERC20) (and any other listed routes), with network selection shown in send/receive flows
The most common USDT mistake is using the wrong network
USDT is frequently used for transfers, and approvals can be a risk on ERC20/EVM
Recovery and backup quality
Backup is clearly guided, easy to verify, and hard to mess up; no confusing recovery steps
If recovery fails, self-custody funds are effectively unrecoverable
Transfer UX and transaction clarity
Network is visible next to the address; confirmations and TXIDs are easy to find; explorer links are clear
Reduces wrong-network sends and “missing USDT” confusion
Fees and gas transparency
The wallet makes it obvious you need TRX for TRC20 or ETH for ERC20, and shows fee estimates
USDT transfers fail or get stuck when gas is missing
Platform coverage
Mobile, desktop, and extension support where relevant
USDT usage patterns differ (mobile transfers vs desktop management vs DeFi in-browser)
Hardware support
Clean hardware workflow for holding larger balances (especially ERC20)
Cold storage is the safer default for larger idle USDT balances
Extra features (optional)
Swaps/on-ramps, portfolio tools, and network breadth — only when they don’t add confusion
Convenience can help, but complexity can increase mistakes
What Is A USDT Wallet?
A USDT wallet is a crypto wallet for Tether (sometimes searched as “wallet tether”) that lets you hold, receive, send, and sometimes swap USDT. In practice, the wallet does not store the coins themselves. It gives you access to your USDT through private keys, recovery credentials, and wallet addresses tied to the blockchain network you are using.
That network detail matters more than many beginners expect. USDT exists on more than one blockchain, including Ethereum and TRON, so the best wallet for USDT is not just the one with the nicest app. It also needs to support the exact version of Tether you plan to use, whether that is ERC20 USDT, TRC20 USDT, or another supported route.
USDT Networks Explained — TRC20, ERC20, And More
When people search for a Tether wallet, they are often really trying to solve a network question. USDT is available on multiple blockchains, and the version you choose affects fees, speed, wallet compatibility, and the exact address format you will use. The two most common versions for everyday use are TRC20 on TRON and ERC20 on Ethereum, but Tether’s supported-protocol list also includes Solana, Ton, Aptos, Tezos, Polkadot AssetHub, and Liquid, plus ERC20 deployments on Avalanche, Cosmos (via Kava), Celo, and Kaia.
If you’re searching for a USDT Tron wallet (or “tron usdt wallet”), you’re looking for TRC20 USDT — a wallet that supports TRON addresses and lets you pay fees in TRX.
The key rule is simple: always match the sending network, receiving wallet, and destination platform. A wallet may show “USDT,” but that does not mean every USDT route is interchangeable. Some wallets and exchanges also display USDT on additional token routes, so it is worth checking both the wallet’s asset details and Tether’s current supported-protocol list before moving funds.
Network
Token standard
Gas token needed
Typical fee profile
Speed
Address format
Best use case
Example wallets
Ethereum
ERC20 USDT
ETH
Usually the most expensive of the common USDT routes, especially when Ethereum is busy
Usually slower and more variable than TRON for simple transfers
Starts with 0x
DeFi use, DEX access, and broad Ethereum ecosystem compatibility
MetaMask, Trust Wallet, Exodus, Ledger
TRON
TRC20 USDT
TRX
Usually much cheaper than ERC20 for standard sends
Usually faster and more predictable for simple wallet-to-wallet transfers
Usually starts with T
Low-cost USDT transfers, exchange deposits, and frequent sends
Trust Wallet, SafePal, Exodus (Mobile/Desktop)
Solana
SPL USDT
SOL
Usually low, though fees still depend on the wallet and service used
Generally fast for simple transfers
Base58 Solana address, not 0x or T
Users already active in the Solana ecosystem who want an officially supported Tether route
Exodus and other Solana-compatible wallets
TON
Jetton USDT
TON
Usually low, but you still need TON for fees
Generally fast
TON wallet format, not EVM or TRON style
Users operating inside the TON ecosystem
TON-compatible wallets
Avalanche
ERC20-compatible USDT on Avalanche C-Chain
AVAX
Usually lower than Ethereum mainnet, but not identical to TRON
Generally quick once submitted
Starts with 0x
Users who want an officially supported EVM-compatible route with lower costs than Ethereum mainnet
MetaMask, Trust Wallet, SafePal
Other officially supported Tether routes
Aptos, Celo, Kaia, Tezos, Polkadot AssetHub, Cosmos via Kava, Liquid
Varies by chain
Varies by chain
Varies by chain
Address format depends on the network
Useful when a platform or wallet specifically supports that Tether route
Network-specific wallets and some multichain wallets
For most people, the real choice comes down to TRC20 versus ERC20. TRC20 USDT is usually better when the goal is cheap, straightforward transfers, while ERC20 USDT makes more sense when you need Ethereum-based apps, DeFi access, or broader EVM compatibility. The main mistake to avoid is assuming that the word “USDT” is enough on its own. It is the network underneath it that determines whether the transfer arrives correctly.
Note: Tether’s current supported protocols page lists ERC20 issuance via Ethereum, Avalanche, Cosmos via Kava, Celo, and Kaia; TRC20 via Tron; plus Liquid, Solana, Polkadot AssetHub, Tezos, TON, and Aptos.
The same Tether page says Kusama, Bitcoin Cash SLP, Omni Layer, EOS, and Algorand are legacy references only and are no longer issued or redeemable by Tether.
Hot Wallet Vs Cold Wallet For Tether
With USDT, “hot vs cold” is mainly about how often you move funds and which network you use.
If you send USDT frequently (payments, exchange transfers, moving funds between wallets), a hot self-custody wallet is usually the most practical option. It’s faster for switching between TRC20 USDT and ERC20 USDT, approving transactions, and sending without extra hardware steps. Examples: Trust Wallet and Exodus for day-to-day USDT management, and SafePal if TRC20 is your default route.
If USDT is mostly being held and you only make occasional transfers, a cold wallet (hardware wallet) is the safer default for a larger balance. You trade speed for security: sending takes more steps, but your signing keys stay offline. Hardware setups are usually most straightforward for ERC20 USDT. Examples: Ledger and Trezor for ERC20 USDT held on Ethereum.
Custody matters too:
Self-custody: you control the wallet and choose the USDT network route. Examples: Trust Wallet (TRC20/ERC20), MetaMask (ERC20).
Custodial (exchange/app balance): the platform controls withdrawals and decides which USDT networks you can deposit/withdraw. Examples: Binance and OKX.
If you use USDT like this
Best setup
Why it fits
What to watch for
Frequent low-cost transfers (TRC20)
Hot self-custody wallet (e.g., Trust Wallet, SafePal)
Fast sends and typically lower transfer costs on TRON
You still need TRX for fees, and you must select TRC20 every time
DeFi or EVM apps (ERC20)
Hot EVM wallet (e.g., MetaMask, Trust Wallet on Ethereum)
Best compatibility with Ethereum/EVM apps and token approvals
You need ETH for gas; fees can spike on mainnet
Holding a larger USDT balance, rarely moving it
Cold wallet (e.g., Ledger, Trezor)
Better protection for an idle balance
Transfers take longer; confirm your intended USDT network route in advance
Keeping USDT on an exchange and withdrawing occasionally
Custodial (e.g., Binance, OKX)
Simple UX and no key management
Withdrawals are limited to the platform’s supported networks and rules
How To Choose The Best USDT Wallet
Most USDT wallet mistakes come from picking the wrong network or not having the right gas token to move funds. Use the table below to choose faster.
What to check
Why it matters for USDT
What “good” looks like
Examples
USDT network support
USDT is not interchangeable across chains. TRC20 and ERC20 use different networks and addresses.
The wallet clearly labels TRC20 USDT and ERC20 USDT as separate routes and makes network selection obvious.
For a larger USDT balance that sits still, hardware reduces exposure.
Hardware support is straightforward for your intended USDT route (most commonly ERC20).
Ledger (ERC20); Trezor (ERC20)
Once you’ve picked the network route you’ll actually use (TRC20 vs ERC20) and the custody model you’re comfortable with, it’s easier to choose the right wallet app for your devices.
Best USDT Wallet Apps For Mobile And Desktop
If you’re choosing a USDT wallet app (a Tether wallet app), pick based on how you actually use Tether: quick TRC20 sends, ERC20 + DeFi, or holding USDT across devices. The options below cover the most common setups on mobile, desktop, and browser.
What you want
Best pick
Works on
Best USDT routes
Why it’s a strong fit
Main trade-off
Best all-around USDT wallet app (mobile + desktop)
Exodus
iOS, Android, Windows, macOS, Linux
TRC20 + ERC20 (plus other supported routes)
One of the simplest ways to manage USDT across devices without juggling multiple wallets. Useful if you switch between phone and computer.
DeFi tooling is not as deep as a DeFi-first wallet.
Best mobile-first USDT wallet app
Trust Wallet
iOS, Android
TRC20 + ERC20
Fast for everyday USDT use (receive/send) and keeps network selection close to the send/receive flow.
Not a desktop app; you’re mostly mobile + extension.
Best USDT Android wallet (simple + flexible)
Trust Wallet
Android
TRC20 + ERC20
Strong default if you specifically want a USDT Android wallet and don’t need a desktop app.
You still need gas tokens (TRX/ETH) and correct network selection.
Best desktop-compatible wallet for USDT (including Mac)
Exodus
Windows, macOS, Linux
TRC20 + ERC20 (plus supported routes)
If you want a Tether wallet on Mac, Exodus is one of the most straightforward desktop choices and pairs well with mobile use.
Desktop wallets are less convenient for quick “on the go” transfers.
Best wallet if you want app + extension for DeFi (ERC20/EVM)
MetaMask
Browser extension + iOS/Android app
ERC20 USDT (and other EVM routes)
Best fit when USDT is used inside Ethereum/EVM apps (approvals, swaps, dApps).
Not the best choice if TRC20 is your main route.
Best wallet if TRC20 is your default and you still want an extension
SafePal
iOS/Android app + browser extension
TRC20 USDT (plus ERC20; BSC/BEP20 where supported)
Strong when you send USDT often and want TRC20 inside a multichain wallet, with an extension option for browser use.
Interface can feel “busy” compared to beginner-first apps.
If you only need one quick rule: TRC20-heavy usage usually fits Trust Wallet or SafePal best, while ERC20 + DeFi usually fits MetaMask best. If you want one app that works across mobile and desktop (including Mac), Exodus is the cleanest starting point.
How To Create A USDT Wallet
Creating a USDT wallet is easy. The important part is choosing the right network (TRC20 vs ERC20) and setting up recovery properly.
Decide which USDT network you need
TRC20 (TRON): typically cheaper for simple transfers.
ERC20 (Ethereum): common for DeFi and Ethereum/EVM apps.
If you’re depositing to an exchange, check which USDT deposit network it supports before you pick.
Download the wallet from the official source
For your USDT wallet app download, use the official website or official app store listing.
Avoid “sponsored” downloads and lookalike apps.
Create a new wallet (or import an existing one)
New wallet = new addresses.
Import only if you already have a seed phrase and know what you’re doing.
Back up recovery immediately
Write down the recovery phrase (or whatever recovery method the wallet uses) and store it offline.
Never paste it into a website, DM, or “support” chat.
Lock the wallet down
Enable PIN/biometrics.
Turn on any built-in warnings (phishing, risky approvals) if available.
Add USDT on the correct network
In the wallet, select USDT and make sure the network is correct (TRC20 vs ERC20).
If USDT doesn’t appear, use the wallet’s “add token” / “manage tokens” option and select the correct network version.
Test with a small transfer first
Copy the receive address from the wallet (with the network shown next to it).
Send a small amount, then confirm on the correct explorer for that network.
Only then send the full amount.
TRC20 USDT setup note:
You’ll need a small amount of TRX in the same wallet to pay TRON network fees when sending.
TRON receive addresses typically start with T.
When withdrawing from an exchange, choose USDT (TRC20) explicitly. Sending TRC20 USDT to an ERC20 address (or vice versa) is the most common way people lose funds.
USDT Wallet Address Guide
A USDT wallet address is the public address you share to receive Tether on a specific network. The important part is the last three words: on a specific network. TRC20 USDT uses a TRON address, ERC20 USDT uses an Ethereum address, and those are not interchangeable.
Two common mistakes:
Copying the right address on the wrong network. The address can look valid, but the funds won’t land where you expect.
Confusing a USDT contract address with your wallet address. A contract address identifies the USDT token on a chain. Your wallet address is where the funds are sent.
How to find your USDT wallet address (fast):
Open the wallet and tap Receive.
Select USDT.
Choose the network (for example, TRC20 or ERC20) before copying anything.
Copy the address (or scan the QR code).
If your wallet shows multiple USDT entries, that’s normal. Many apps list USDT (TRC20), USDT (ERC20), and other routes separately, because each one has its own address format and explorer.
Network
Typical address appearance
Where you’ll find it in most wallets
Explorer to verify
Ethereum (ERC20 USDT)
Starts with 0x…
Receive → USDT → Ethereum / ERC20
Etherscan
TRON (TRC20 USDT)
Often starts with T…
Receive → USDT → TRON / TRC20
Tronscan
Avalanche C-Chain (USDT)
Starts with 0x…
Receive → USDT → Avalanche C-Chain
Snowtrace (or Avascan)
Solana (SPL USDT)
Solana base58 address (not 0x or T)
Receive → USDT → Solana
Solscan
TON (Jetton USDT)
Often starts with EQ… / UQ…
Receive → USDT → TON
Tonviewer
USDT Wallet Lookup And Tracker Tools
For a quick USDT wallet lookup (or a simple USDT wallet tracker), paste the address into the explorer for the network you’re using. This shows the real on-chain balance and transaction history, even if a wallet app isn’t displaying USDT correctly.
ERC20 USDT: Etherscan
TRC20 USDT: Tronscan
Avalanche C-Chain USDT: Snowtrace (or Avascan)
Solana USDT: Solscan
Quick sanity check before anyone sends you USDT:
The sender’s network selection matches your receive network (TRC20 ↔ TRC20, ERC20 ↔ ERC20).
You’re using the correct chain explorer for that network.
If you plan to send USDT out later, keep a small amount of the gas token on that chain (for example, TRX for TRC20, ETH for ERC20).
How To Transfer USDT To Another Wallet
If you’re wondering how to transfer USDT to another wallet, the steps are straightforward. The one thing you cannot get wrong is the network. USDT (TRC20) and USDT (ERC20) are different routes, with different addresses and different fee tokens.
Confirm the receiving wallet supports the same USDT network
Ask: “Am I sending USDT (TRC20) on TRON, USDT (ERC20) on Ethereum, or something else?”
Make sure the receiving wallet (or exchange deposit screen) explicitly supports that same network.
Copy the receiving address from the correct network screen
In the receiving wallet: Receive → USDT → select network (TRC20/ERC20) → copy address.
Don’t type addresses manually. Copy/paste or use QR.
Make sure you have the right gas token for fees
TRON transactions use bandwidth and energy. If your account does not have enough resources, TRX is used instead.
ERC20 USDT requires ETH for gas.
If you don’t have gas, the send will fail or you won’t be able to broadcast it.
Send a small test transfer first
This is the fastest way to catch a wrong-network mistake before it becomes expensive.
Confirm the transaction status in your wallet
Look for a TXID/transaction hash.
If you’re sending to an exchange, wait for their required confirmations.
Track it on the right block explorer
ERC20 (Ethereum): Etherscan
TRC20 (TRON): Tronscan
Solana USDT: Solscan
Avalanche C-Chain USDT: Snowtrace (or Avascan)
Troubleshooting
Most USDT transfer issues come down to one of three things: the wrong network, not enough gas token, or the wallet showing the wrong USDT route. Before doing anything else, open the transaction hash on the explorer for the network you used (Tronscan for TRC20, Etherscan for ERC20). If the explorer shows the transfer completed to the right address, the problem is usually display/network selection. If you sent to an exchange on the wrong network, the explorer is also the fastest way to gather the details support will ask for.
Wrong network: If you control the destination address, switch to that network in your wallet and enable the matching USDT route. If the destination is an exchange deposit, contact support with the TXID.
Balance not showing: Verify the balance in the explorer, then make sure you’re viewing the correct USDT route in the wallet (TRC20 vs ERC20) and enable the token if needed.
Can’t send (fee error): You’re missing gas for that network (TRX for TRC20, ETH for ERC20). Top up a small amount and retry.
Pending / slow: ERC20 can lag during high gas periods—keep tracking on Etherscan. TRC20 delays are less common; verify status on Tronscan before re-sending.
Trust Wallet TRC20 USDT Fees
TRON transfers use bandwidth and energy, and TRX is used when the account does not have enough resources to cover the transaction. If you try to send TRC20 USDT and see an “insufficient TRX” or fee error, it usually means you don’t have enough TRX to cover the TRON network fee. When sending USDT on TRON, the sender pays the transaction cost in TRON resources. If the account does not have enough energy or bandwidth, TRX is used instead.
To avoid failed transfers:
Keep a small TRX balance in the same TRON address you use for USDT (TRC20).
Double-check you’re sending USDT (TRC20) before you copy the destination address.
Review the fee preview before confirming, then track the TXID on Tronscan if the wallet UI looks delayed.
USDT Wallet Fees And Transfer Times By Network
USDT transfer costs and speed depend on the network you use. Network fees are usually paid in the blockchain’s native token or resource model rather than in USDT itself.
Network
Gas token needed
Typical fee profile
Typical confirmation speed
Best suited for
TRON (TRC20 USDT)
TRX
Usually low for standard sends
Usually fast for simple transfers
Frequent USDT transfers and exchange withdrawals where TRC20 is supported
Ethereum (ERC20 USDT)
ETH
Often the most expensive of the common routes; fees can spike when gas is high
More variable than TRON; depends on gas conditions
DeFi usage, EVM apps, and broad ecosystem compatibility
Avalanche C-Chain (USDT)
AVAX
Usually lower than Ethereum mainnet, but not “free”
Usually quick once submitted
EVM-style apps with lower typical costs than Ethereum mainnet
Solana (SPL USDT)
SOL
Usually low
Generally fast
Solana ecosystem activity and platforms that support USDT on Solana
TON (Jetton USDT)
TON
Usually low
Generally fast
TON ecosystem activity and platforms that support USDT on TON
Other supported routes
Varies
Varies by chain
Varies by chain
Only when the sending platform and receiving wallet both support the same USDT route
TRC20 USDT is popular because it is usually the lowest-friction way to move Tether for everyday transfers: fees are typically lower, and many platforms support TRON withdrawals for USDT. ERC20 USDT still matters because it is the default route for Ethereum and EVM DeFi, where USDT needs to interact with dApps, approvals, and liquidity on Ethereum-based networks. The trade-off is cost — ERC20 transfers can become expensive during busy periods. If a platform supports USDT on other networks like Solana, Avalanche, or TON, those routes can be a solid middle ground, but the rule stays the same: the deposit network and the send network must match exactly.
Common USDT Wallet Mistakes And How To Avoid Them
Most USDT wallet problems come from one preventable issue: treating “USDT” as if it is the same thing everywhere. In reality, USDT (TRC20), USDT (ERC20), and other USDT routes are different networks with different addresses, different fee tokens, and different explorers.
Mistake
What goes wrong
How to avoid it
Sending on the wrong network
The transfer is broadcast on TRON when the destination expects Ethereum (or the reverse), so the deposit does not credit where you expect.
Match the network on both sides every time: USDT (TRC20) to TRC20, USDT (ERC20) to ERC20. If you are sending to an exchange, use the exchange’s deposit page to confirm the network. Send a small test amount first.
Downloading a fake USDT wallet app
Lookalike apps and phishing clones steal your recovery phrase or trick you into signing a drain transaction.
Install only from the official app store listing or the wallet’s verified website. Never type your recovery phrase into a site, form, DM, or “support” chat.
Not backing up the wallet correctly
A lost phone or corrupted device becomes a total loss because the recovery phrase was never saved safely.
Write the recovery phrase down offline and store it somewhere secure. Do not screenshot it. Do not save it in email or cloud notes. Verify the backup once during setup.
Losing access to the recovery phrase
Self-custody has no reset. If the recovery phrase is lost, the wallet and USDT are effectively unrecoverable.
Treat the recovery phrase like the key to the funds. Keep it offline, keep it private, and keep it in a place you can access years later. Consider a second secure copy stored separately.
Ignoring approvals and suspicious links
ERC20 USDT use often involves approvals. A bad approval or signature can let a drainer move funds later.
Only connect wallets to sites you trust. Review what you are signing. Periodically check and revoke token allowances, especially if you use USDT with DeFi apps.
Sending large transfers without testing first
A single wrong-network send or wrong address can lock up a large amount of USDT.
Always send a small test transfer, confirm it arrived on the right network, then send the full amount. Keep enough gas token to move USDT (TRX for TRC20, ETH for ERC20).
If USDT looks “missing,” do not guess. Check the transaction on the correct explorer for the network you used, then confirm the wallet is viewing the matching USDT route (TRC20 vs ERC20) before you take any recovery steps.
Who Each USDT Wallet Is Best For
If you’re down to a final choice, match the wallet to the way you use USDT (network + behavior). This quick map covers the most common scenarios.
If you are…
Best pick
USDT routes to focus on
Why this is the best fit
Solid alternative
New to USDT and want something simple
Exodus
TRC20 or ERC20 (depending on where you send/receive)
Clean UX across mobile + desktop, easier to avoid basic send/receive mistakes
Trust Wallet
Sending USDT often and trying to keep costs low
SafePal
TRC20 USDT
Strong fit for TRON-based transfers and frequent sends
Trust Wallet
Using USDT mainly for DeFi on Ethereum/EVM
MetaMask
ERC20 USDT (and other EVM routes)
Best dApp compatibility and approval/signing workflow
Trust Wallet (EVM use)
Holding a larger USDT balance long-term
Ledger
Usually ERC20 USDT
Hardware wallet security is the safer default for an idle balance
Trezor
Want one wallet that covers most mainstream USDT use
Trust Wallet
TRC20 + ERC20
Flexible self-custody option for everyday use across common USDT routes
Exodus
Moving USDT across multiple ecosystems and devices
Exodus
TRC20 + ERC20 + other supported routes
Good multi-device setup when you don’t want separate wallets per chain
Trust Wallet
If TRC20 is the default route (exchange withdrawals, frequent transfers), start with Trust Wallet or SafePal. If ERC20 + DeFi is the priority, MetaMask is usually the better choice. If the balance is large and mostly sits still, Ledger is the safer answer.
A USDT wallet is a crypto wallet that lets you store, receive, and send Tether. The key detail is the network: USDT can exist on different chains, like USDT (TRC20) on TRON or USDT (ERC20) on Ethereum. A good Tether wallet makes the network clear, shows the correct receive address, and helps you avoid wrong-network transfers.
What is a USDT wallet address?
A USDT wallet address is the public address you share to receive USDT on a specific network. ERC20 USDT uses an Ethereum address (often starts with 0x). TRC20 USDT uses a TRON address (often starts with T). Always pick the right network first, then copy the address from the wallet’s Receive screen.
What is the best wallet for USDT?
The best USDT wallet depends on how you use Tether. If you want an all-around self-custody wallet that supports common USDT routes, Trust Wallet and Exodus are strong defaults. If you mainly use DeFi on Ethereum, MetaMask is usually better for ERC20 USDT. If you hold a larger balance long-term, a hardware wallet like Ledger fits better.
What is the best wallet for USDT TRC20?
If TRC20 is your main route (TRON withdrawals, low-fee transfers), pick a wallet that clearly supports USDT (TRC20) and makes TRON network selection obvious. Trust Wallet and SafePal are common choices for TRC20 usage. You’ll also need a small amount of TRX in the wallet to pay TRON network fees when sending.
How do I create a USDT wallet?
Choose the USDT network you need first (TRC20 vs ERC20), then install a reputable wallet from its official source. Create a new wallet, back up the recovery phrase offline, and enable PIN/biometrics. Add USDT on the correct network inside the app and do a small test transfer before moving larger amounts.
How do I transfer USDT to another wallet?
Confirm the receiving wallet (or exchange deposit page) supports the same USDT network you’re sending. Copy the receive address from the correct network screen, make sure you have the gas token (TRX for TRC20, ETH for ERC20), and send a small test amount. Track the transaction on the right explorer (Tronscan or Etherscan) before sending more.
How do I convert USDT to cash?
To convert USDT to cash, send USDT to an exchange or off-ramp that supports your deposit network (TRC20, ERC20, etc.), sell USDT for your local currency, then withdraw to your bank card or bank account. Some platforms also offer P2P cash-outs. Fees, limits, and KYC rules vary, so confirm requirements and choose the correct network for the deposit.
Does Trust Wallet support TRC20 USDT?
Trust Wallet supports USDT across multiple networks, including TRON’s TRC20 route. When receiving or sending, choose USDT (TRC20) so you copy a TRON address (often starts with T) and pay fees in TRX. If you don’t see TRC20 USDT, enable it in Manage Tokens and make sure you’re viewing the TRON route.
How do I approve USDT on Trust Wallet?
Approving USDT is mainly relevant for ERC20/EVM USDT when you use a DEX or DeFi app. In the dApp, select USDT, tap Approve, then confirm the approval transaction in Trust Wallet and pay gas (for example, ETH on Ethereum). Only approve contracts you trust, and revoke the allowance later if you’re done.
Can I use the same wallet for ERC20 and TRC20 USDT?
Sometimes. Multichain wallets can support both routes, but they appear as separate entries with different addresses and fee tokens. Always select the network before copying an address, and keep gas for that network (TRX for TRC20, ETH for ERC20). Sending TRC20 USDT to an ERC20 address (or the reverse) won’t credit normally.
What happens if I send USDT on the wrong network?
Best case: the destination address is yours and you can access the funds by switching to the correct network in your wallet and enabling the matching USDT route. Worst case: you sent to an exchange or service that doesn’t support that deposit network, and recovery depends on their support process (and may not be possible). Always test-send first.
How can I track a USDT wallet address?
Use a block explorer that matches the USDT network. For ERC20 USDT, check the address on Etherscan. For TRC20 USDT, use Tronscan. Paste the address to see token balances and transaction history. If your wallet shows “missing USDT,” the explorer is the fastest way to confirm whether funds arrived on-chain.